Create Account #
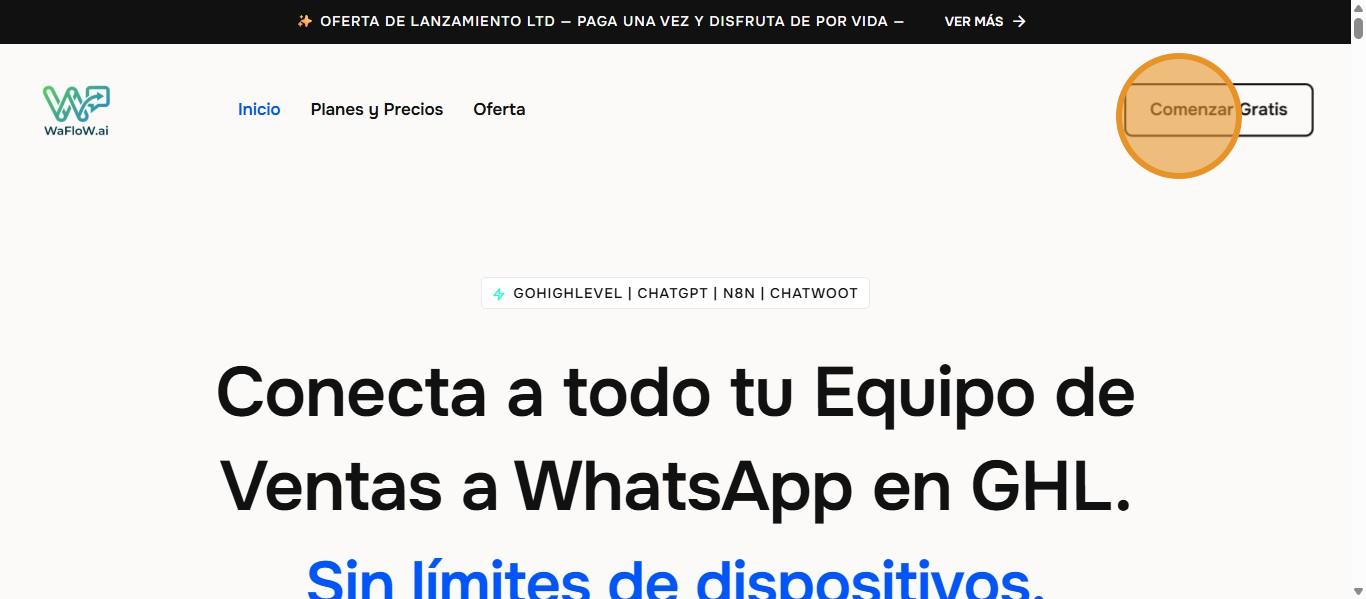
First, we must access the WaFlow.ai website by following this link: https://waflow.ai/
This manual is intended to guide users through their first steps with WaFloW.ai. Any code or key seen in this tutorial is not valid or usable, as they were created for demonstration purposes and will be deleted at the end of the tutorial. You must work with the codes sent to your email/mobile phone and your own keys.
Once you have accessed the website, to register and create an account, click on the following button: “Start Free.”
We will then be redirected to the registration window, where we must first validate our email address.
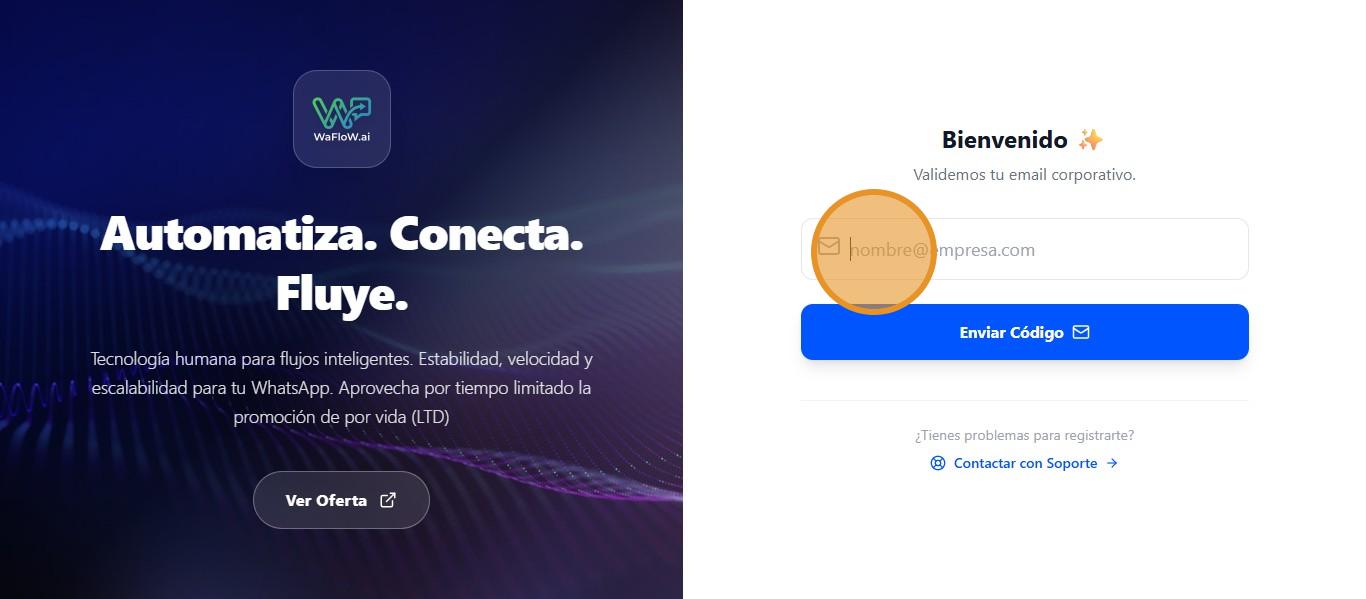
Once you have entered the email address you want to use, click on the “Send Code” button to validate your email address.
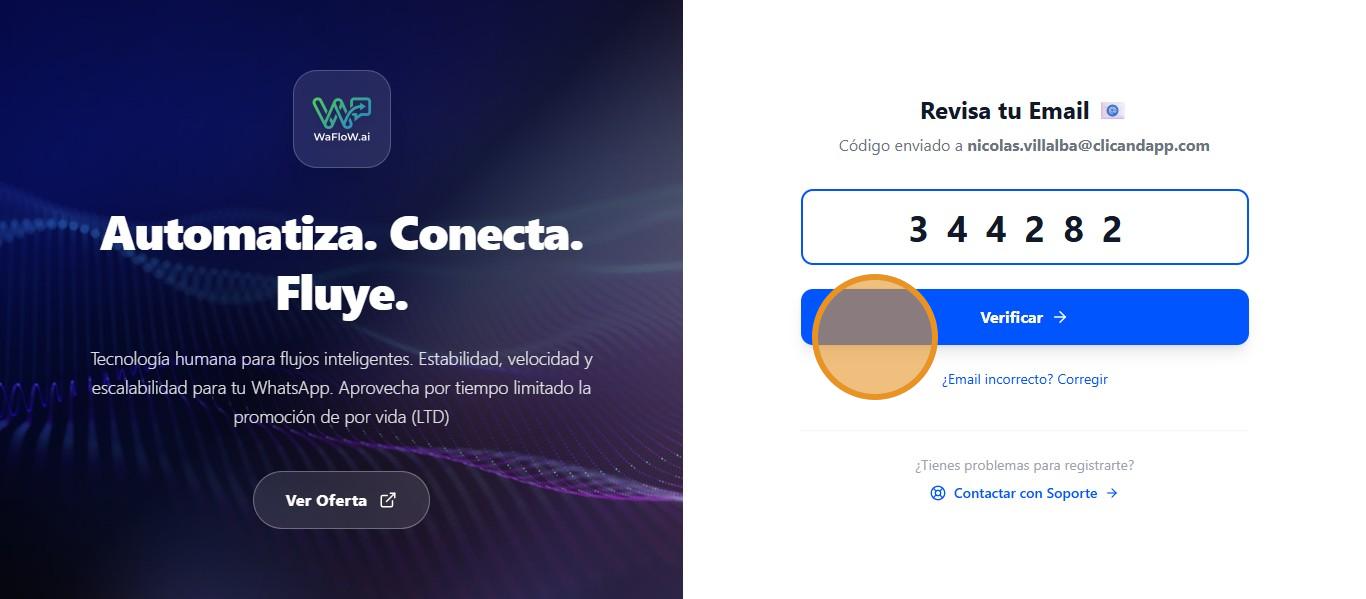
We check our email inbox and there we will find the code we need to enter below to validate our email and continue with the registration process.
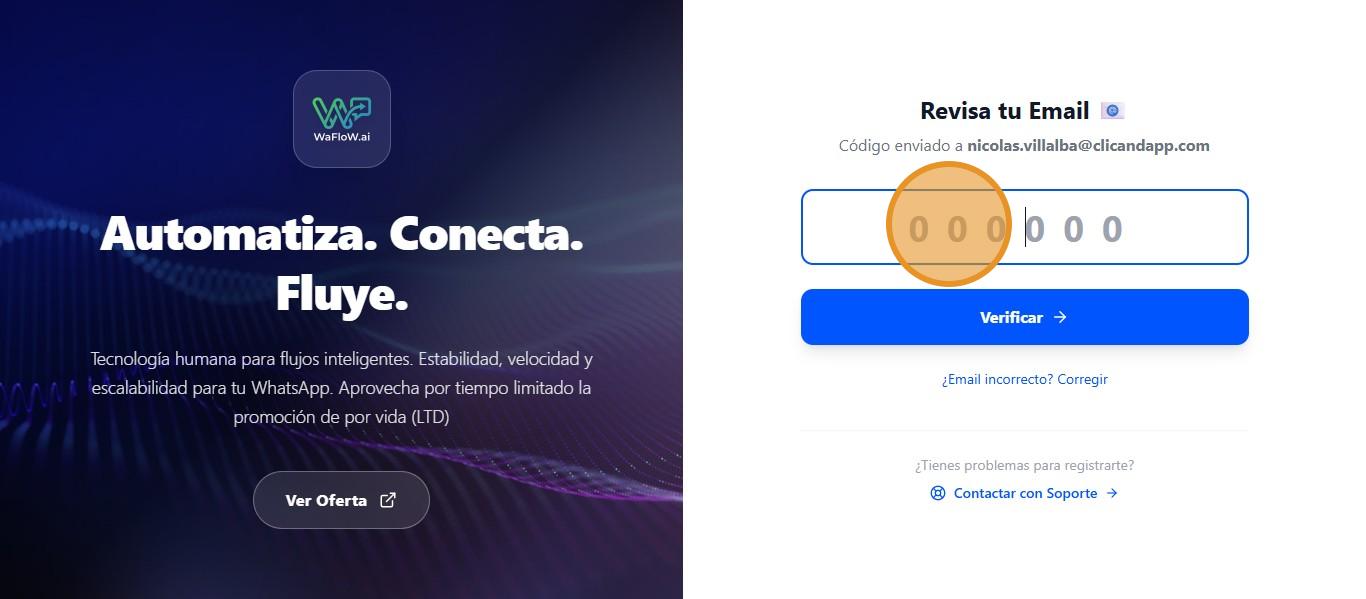
Once the code has been entered, click on the “Verify” button.
Once the email has been successfully verified, we must repeat the same step, but this time to validate our phone number, which will be linked to our account.
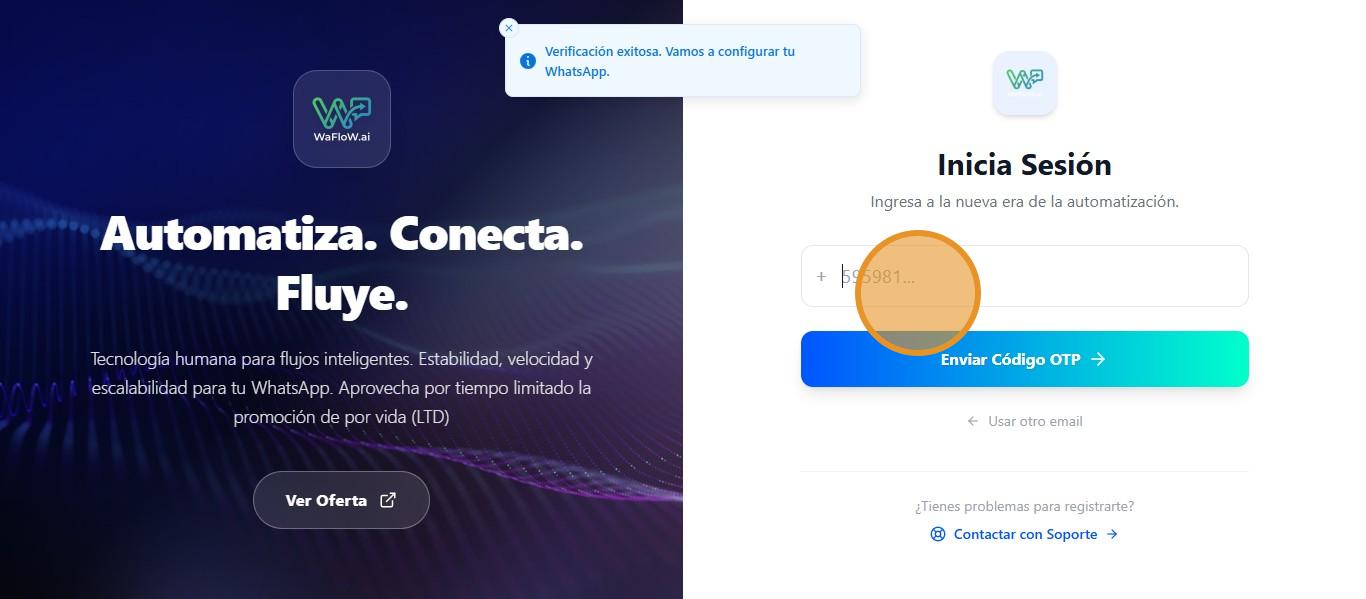
Once you have entered your number, click on “Send Code.”
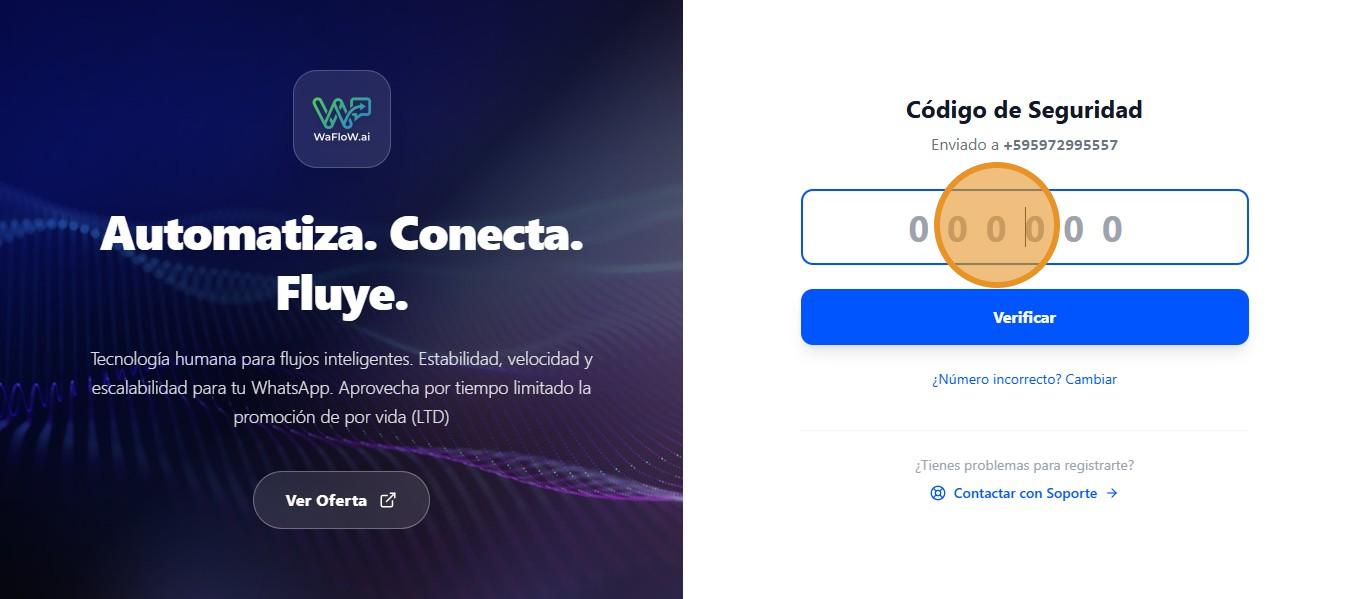
Once we receive the message with the security code, we enter it and click on “Verify.”
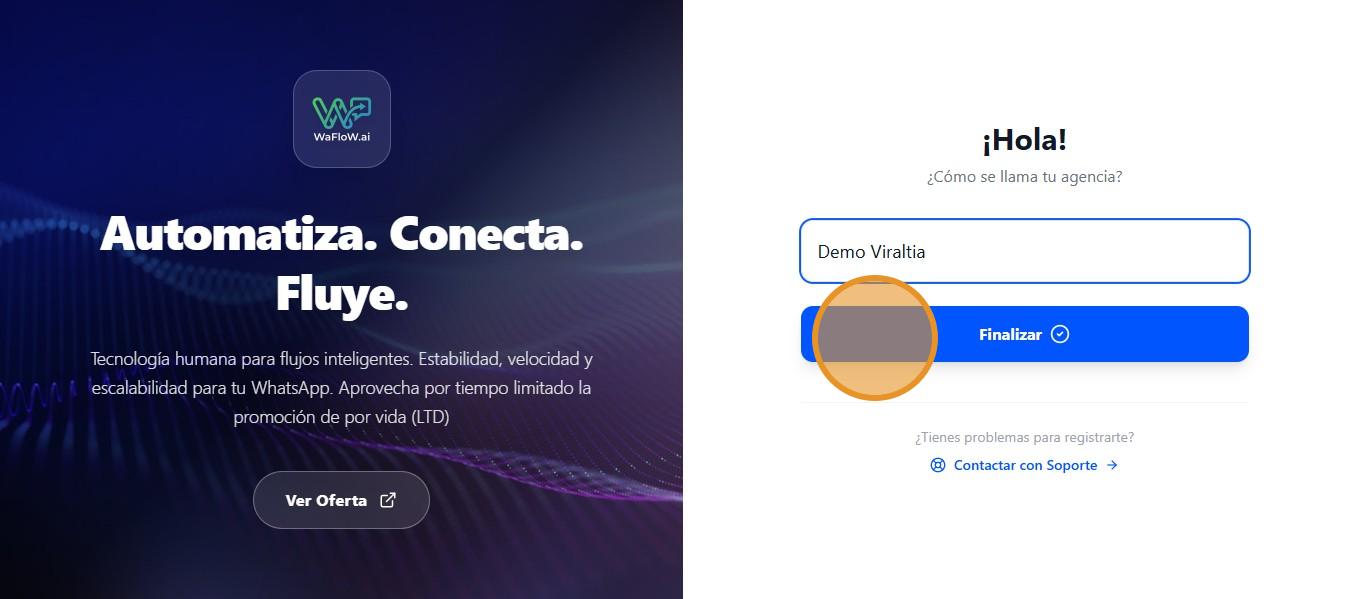
In this field, we must enter the name of our agency.
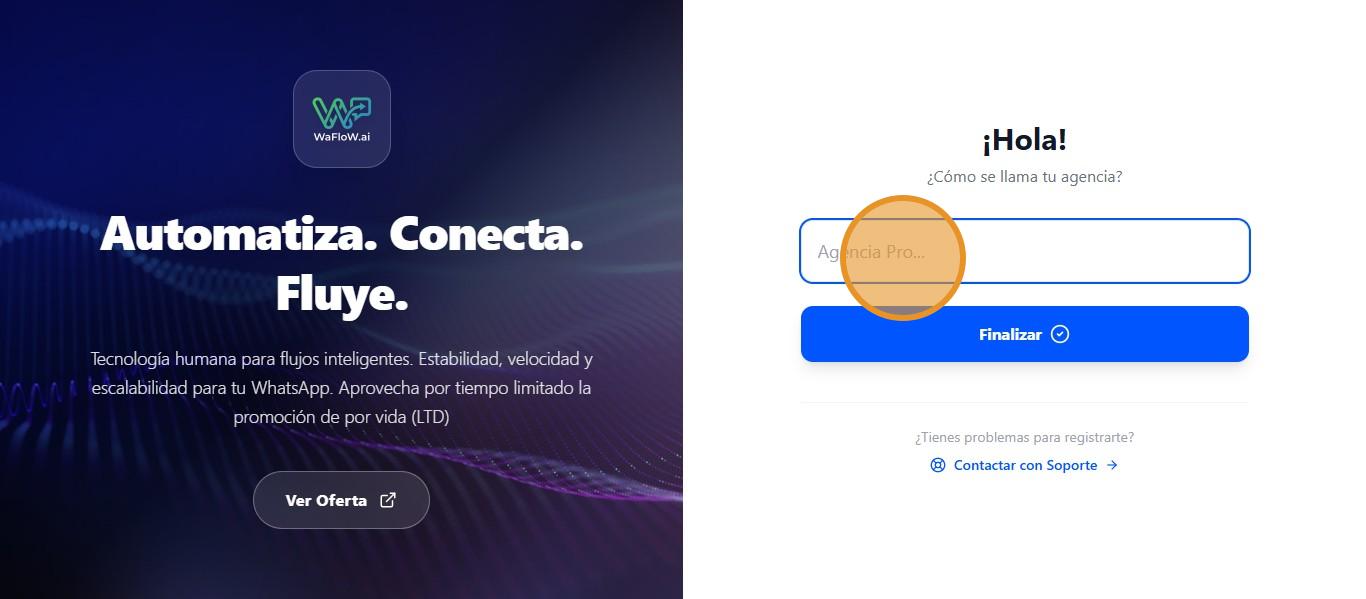
Once set, click “Finish.”
Basic Customizations #
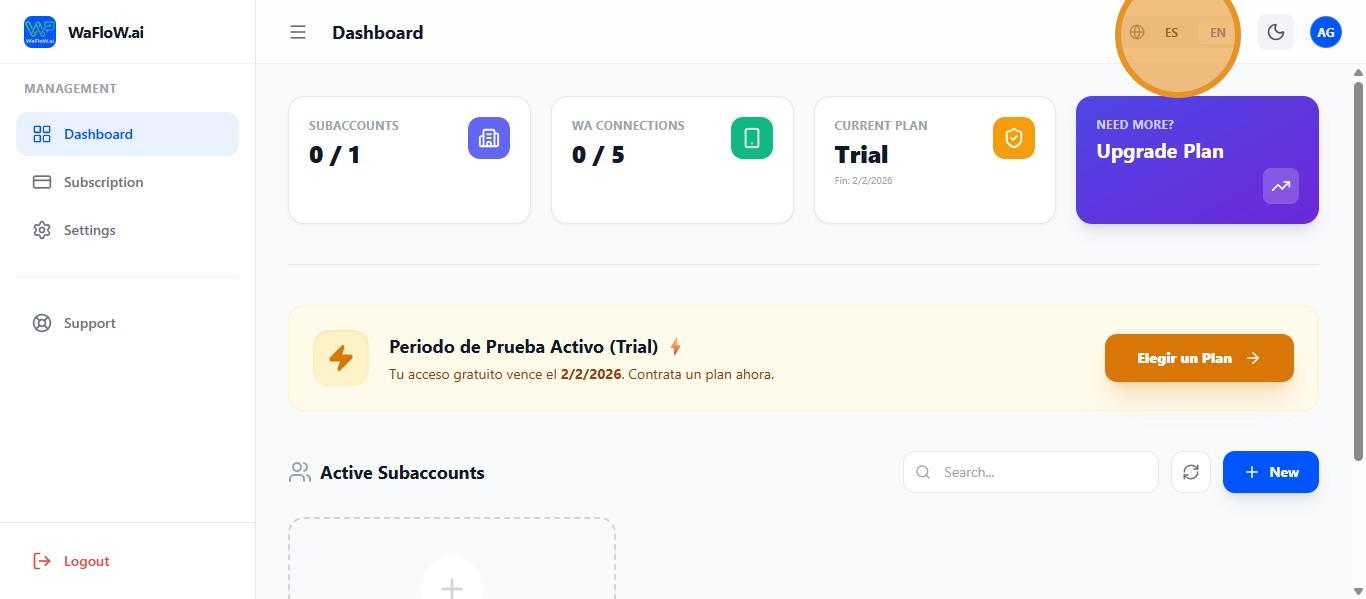
Once logged in, this is the website dashboard, where you can change the language as needed in the upper right corner of the screen.
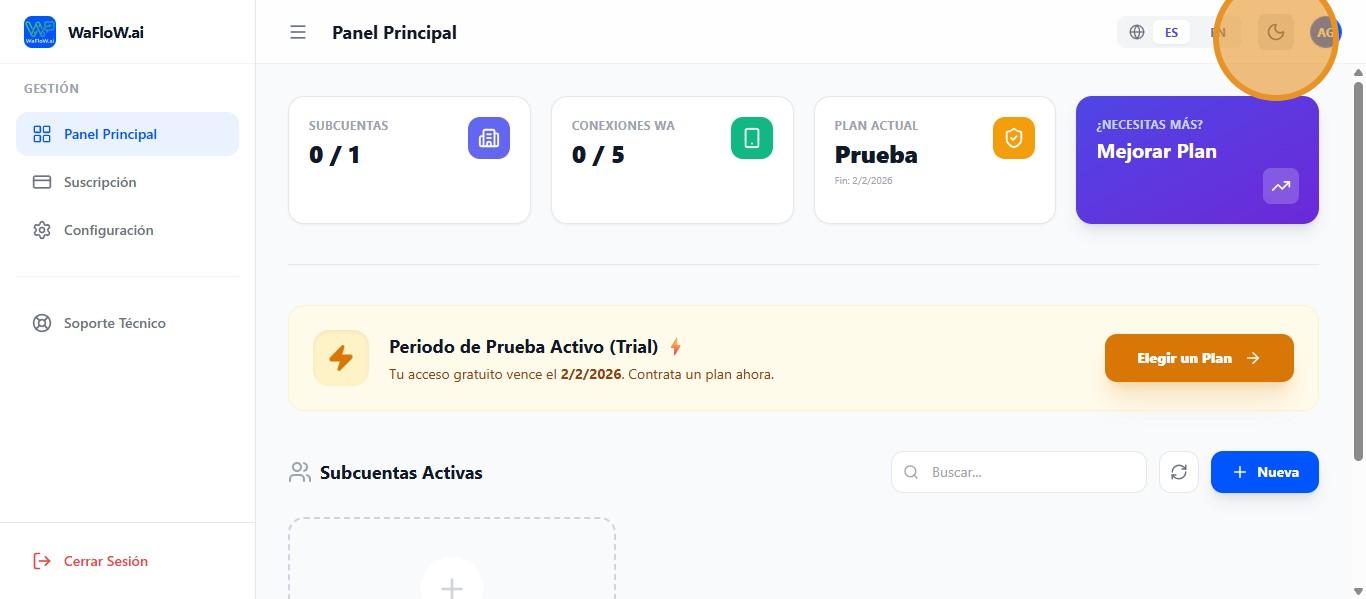
Clicking on this icon also allows you to switch between night mode and day mode.
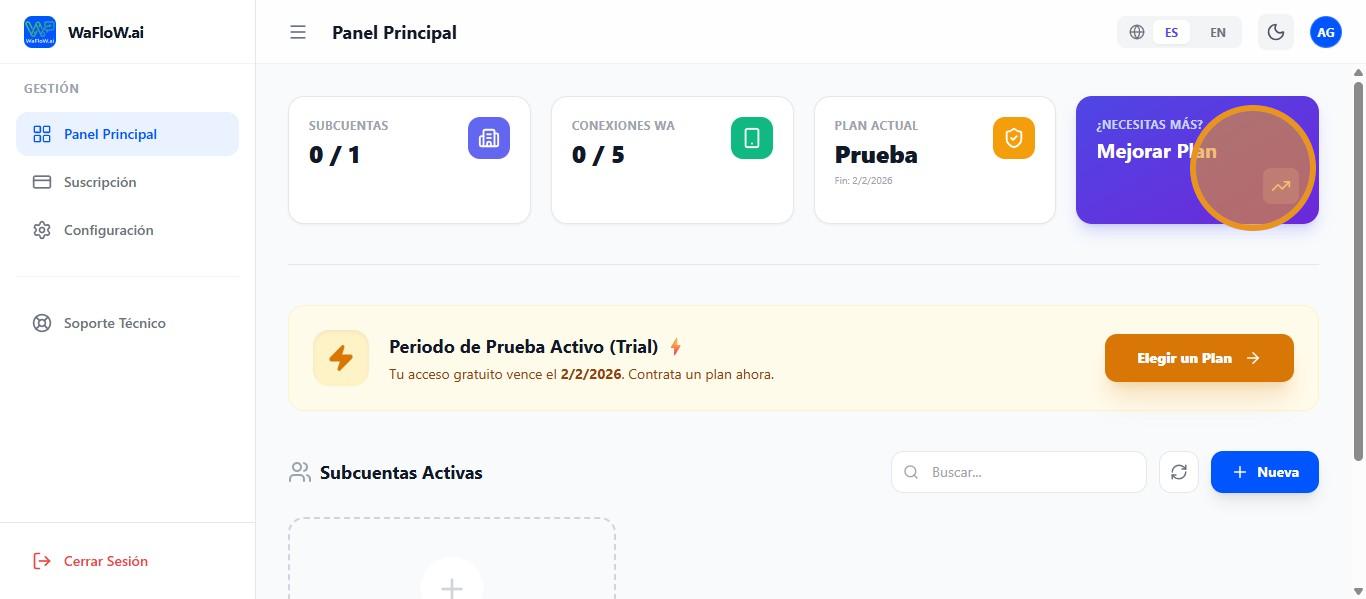
Improve Plan #
If you want to upgrade your account and stop using the trial plan, click on “Need more? Upgrade Plan.”
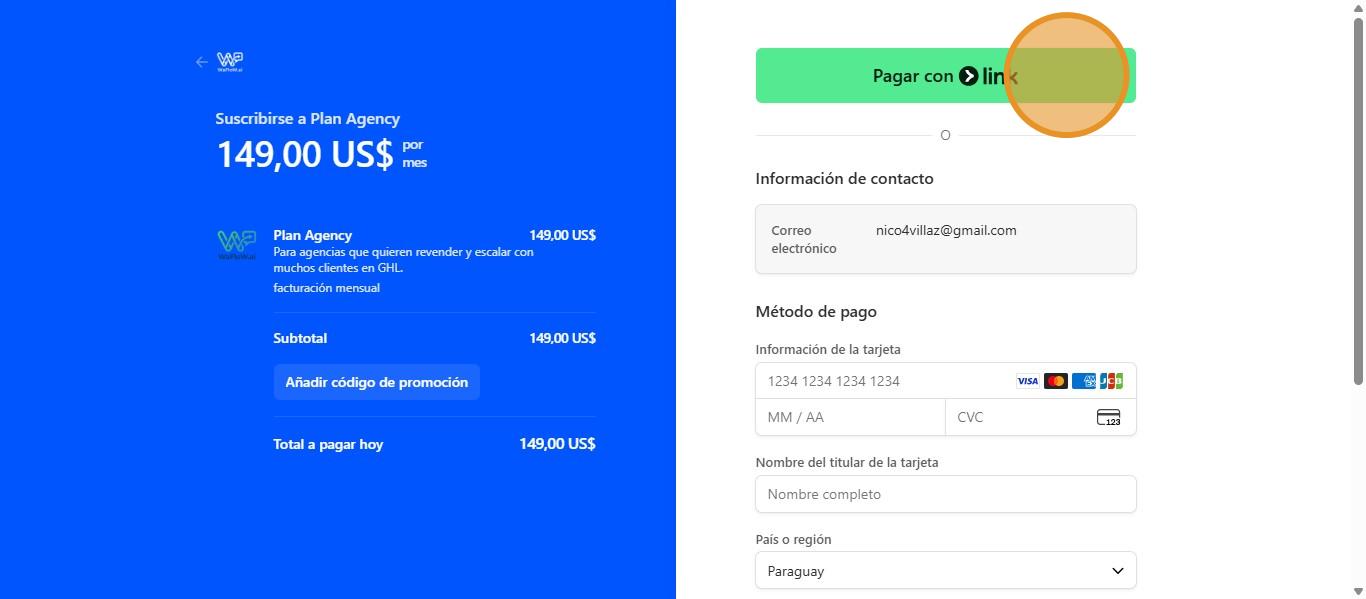
Then we choose the plan that best suits us and click on “Sign Up for Plan.”

If you have a LINK account and find it more convenient to pay using that option, click on “Pay with LINK.”
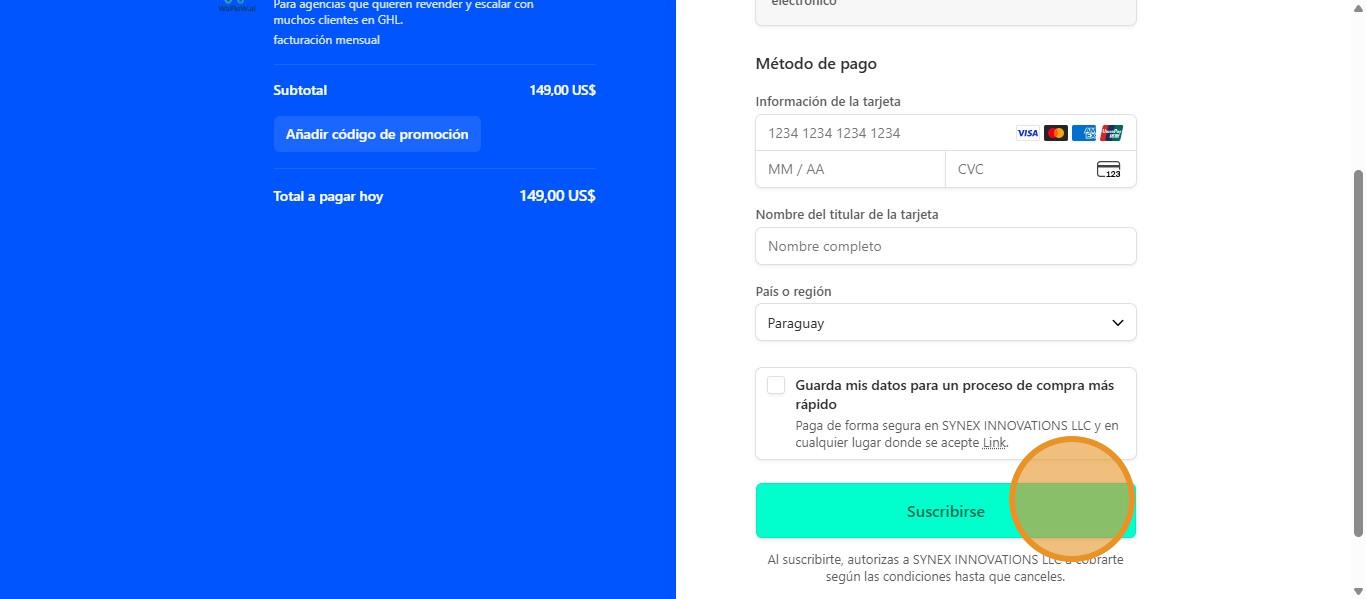
Or the other payment method is to manually fill in your card details and click on “Subscribe.”
Add Subaccounts #
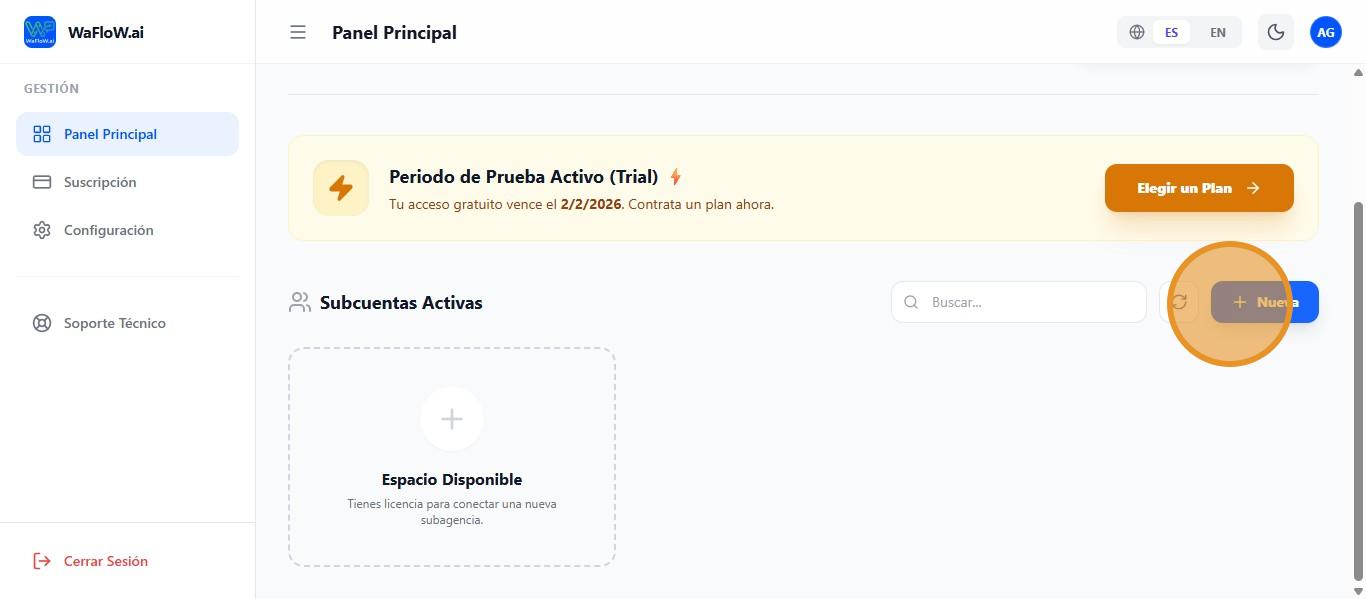
Further down, we have the active subaccounts section, where to add a new subaccount, we must click on “+ New.”
Install WaFloW.ai on GoHighLevel #
Click on Available Space to set up a subaccount.
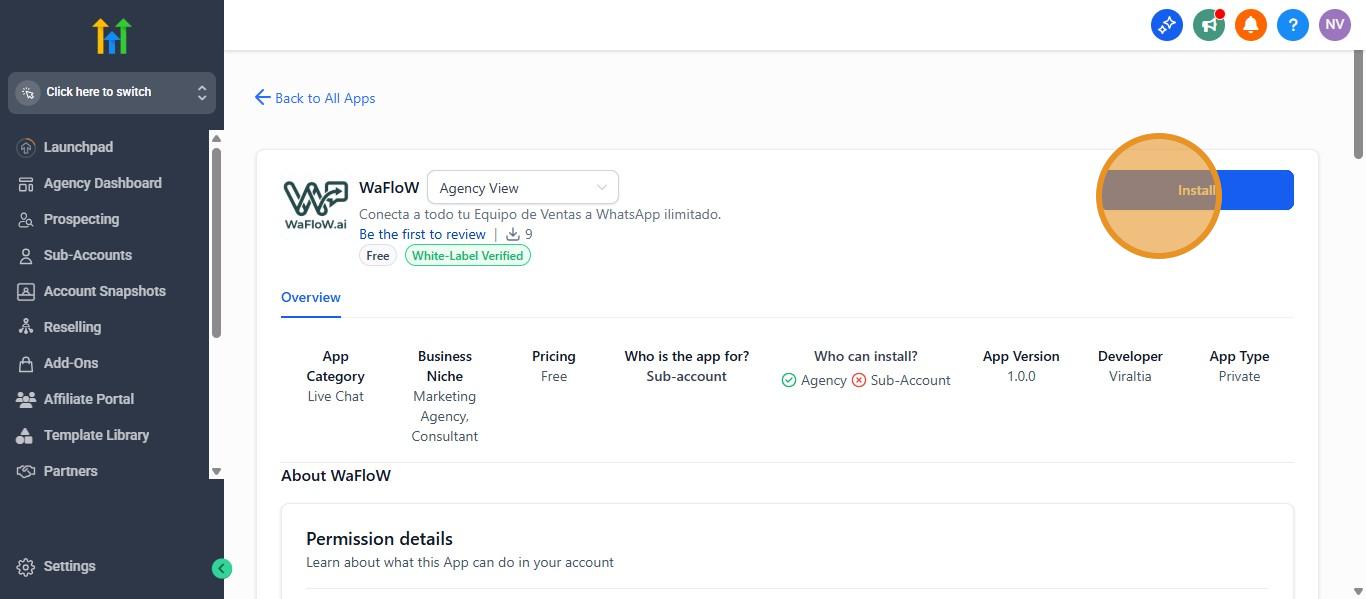
You will be redirected to GoHighLevel, where you will click on “Install” to install the WaFlow application on your GHL sub-account.
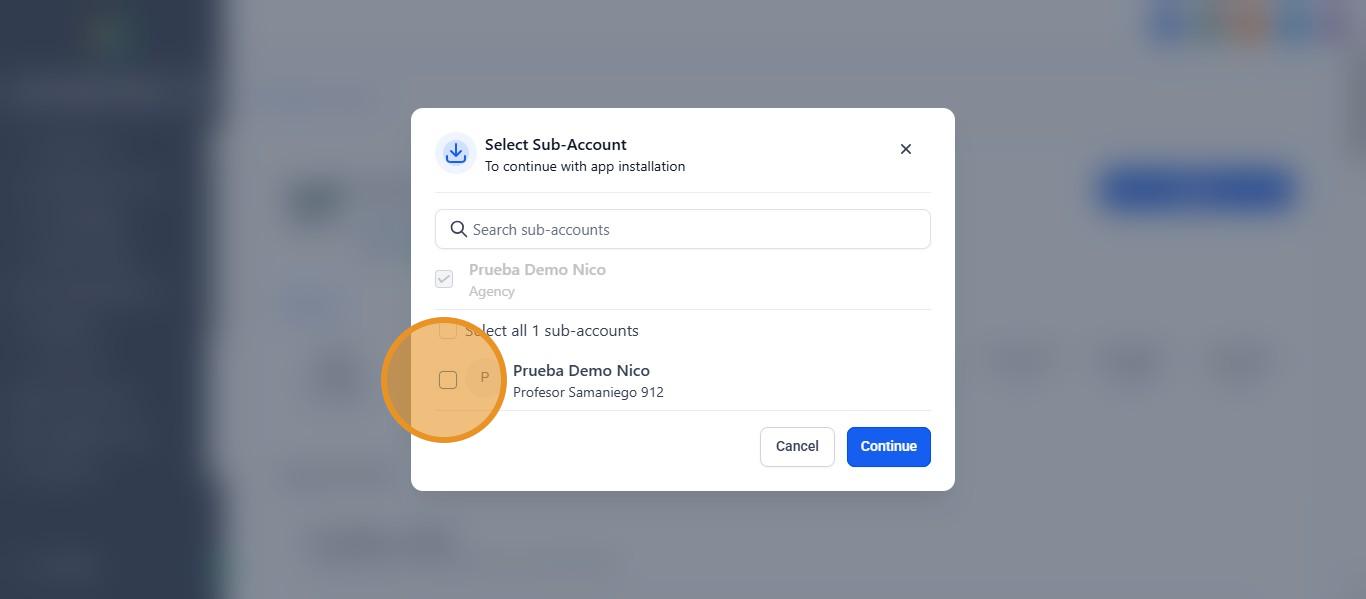
We select which sub-account we are going to install it on.
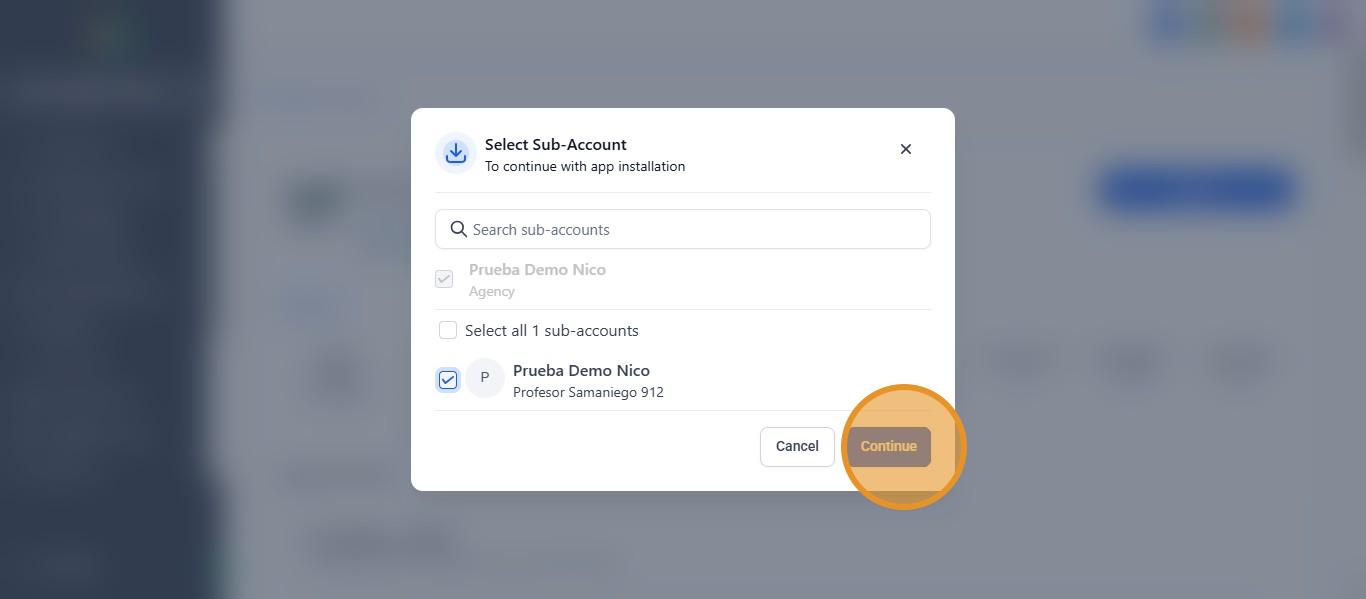
And we proceed to continue, click on “Continue.”
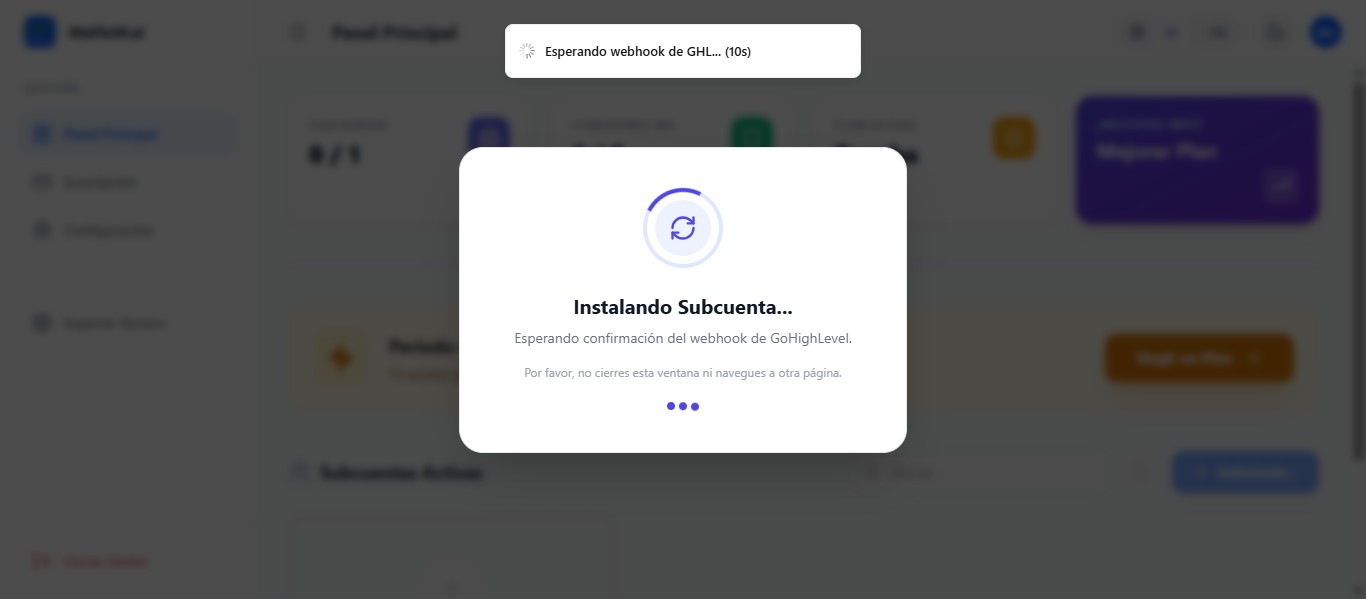
Then we will return to GHL to confirm the installation on our sub-account. Click on “Allow & Install.”

Please do not close this window or navigate to another page.
Add and Manage Devices #
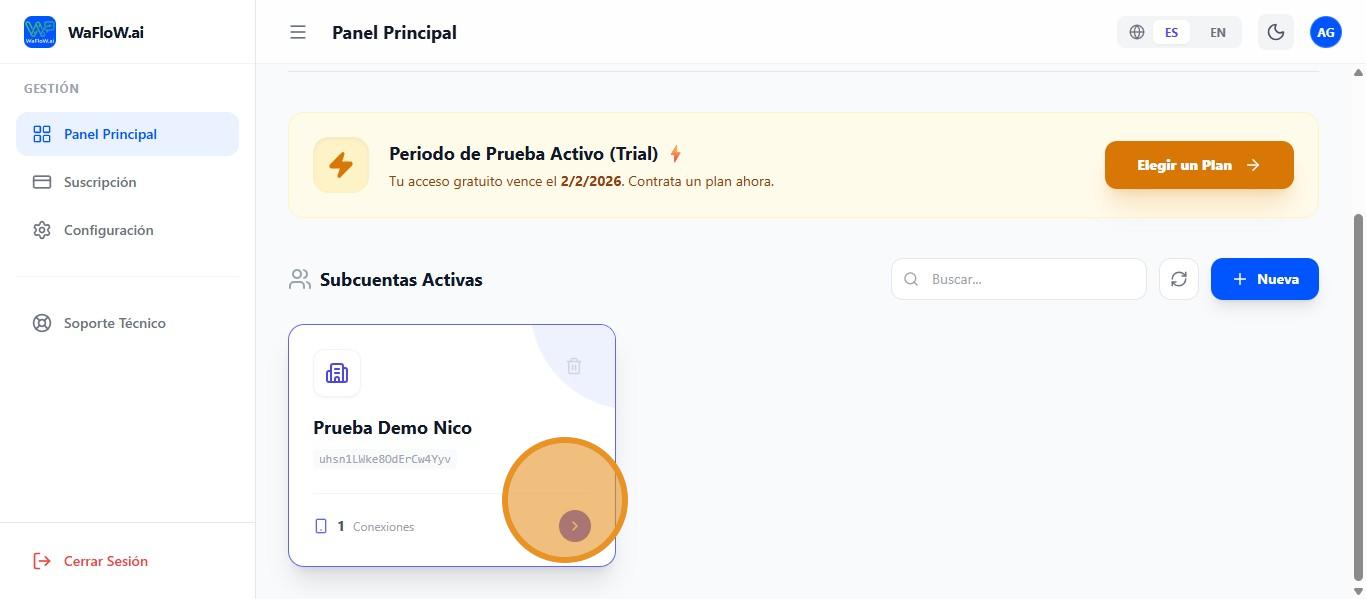
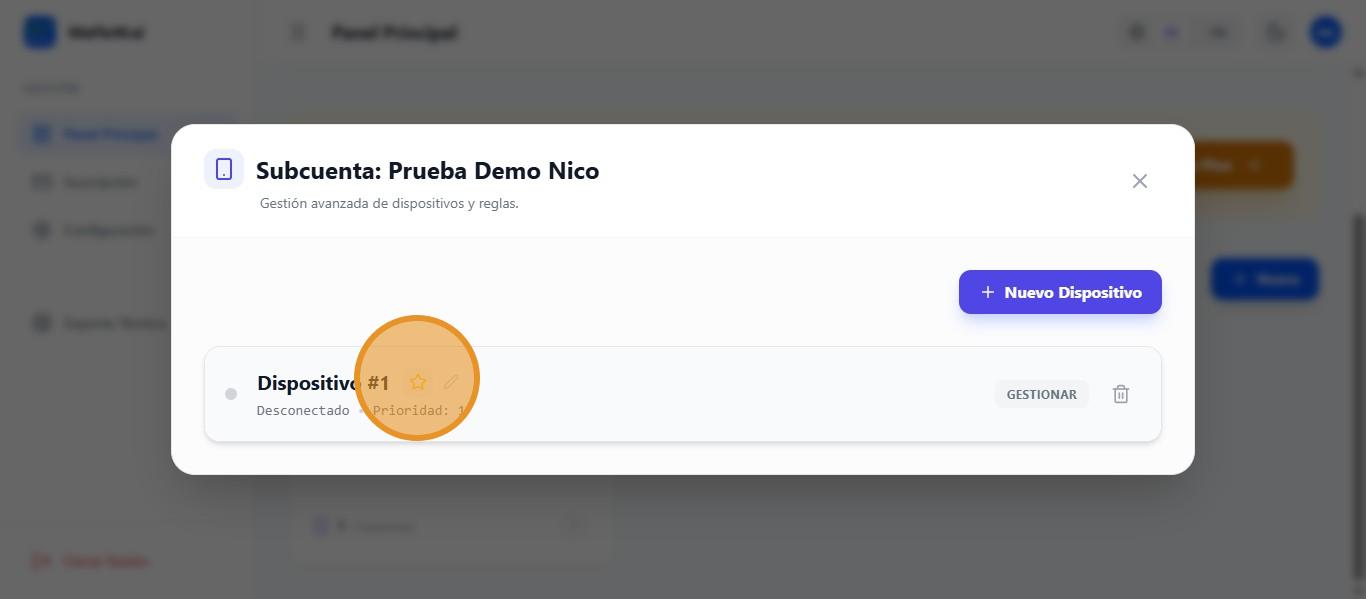
Once ready, it will look like this with the sub-account already active. Click on the icon of our sub-account to explore the options.
This will show us the devices connected to the sub-account. Click on this icon if we want that device to be the favorite.
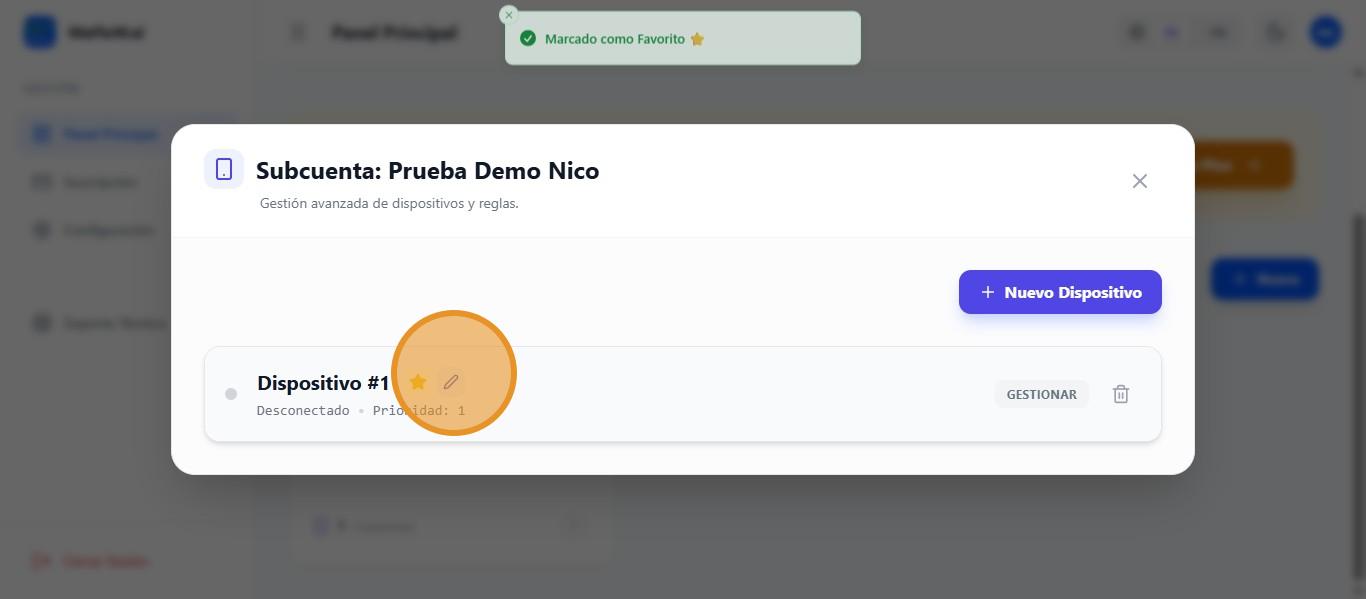
If you want to edit the device, click on this icon.
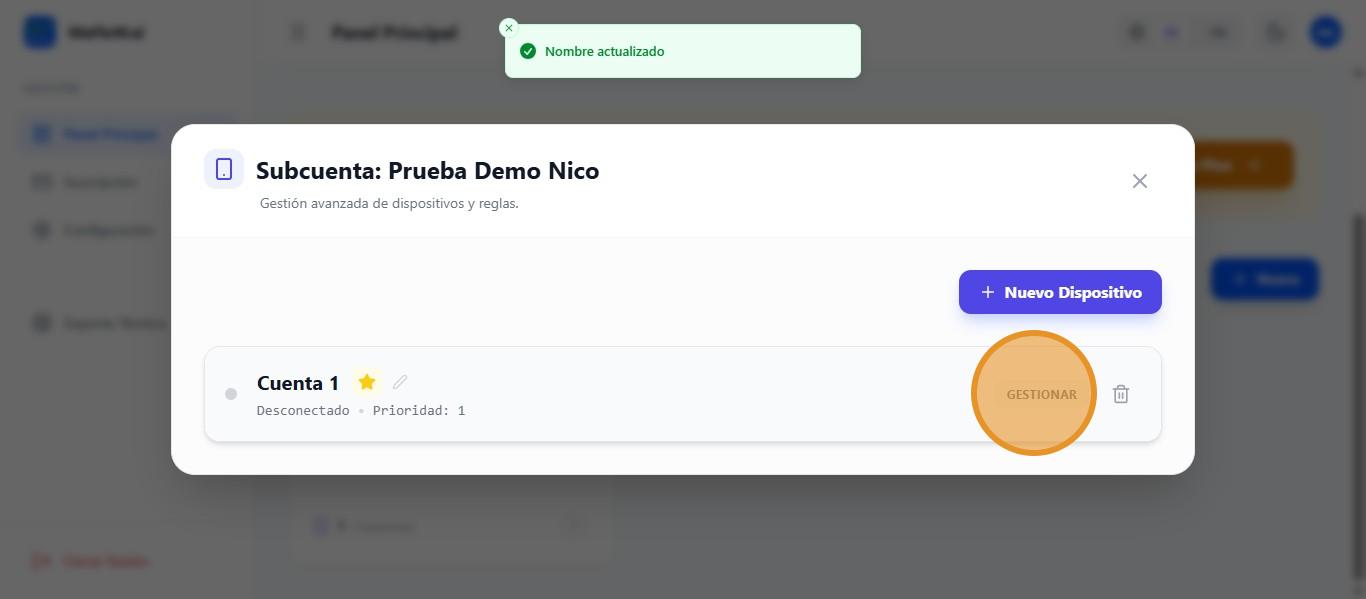
If you want to manage your device, click on “Manage.”
Here we can see the general section, where we can first choose the priority level of the device.
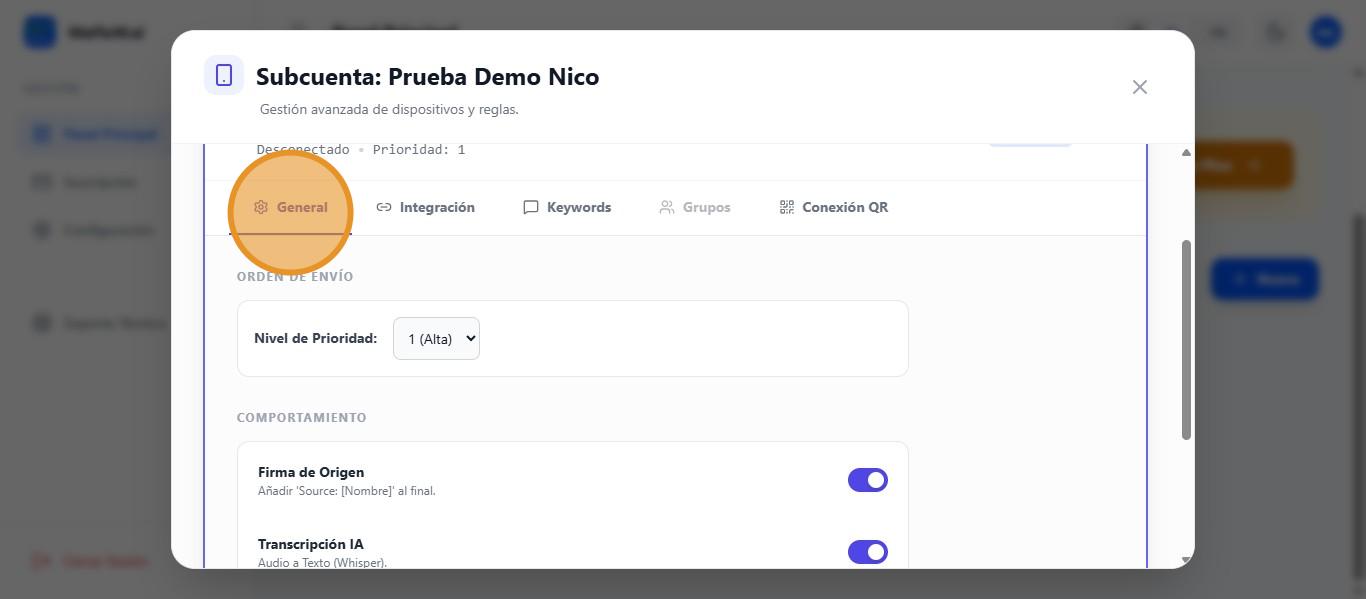
Scrolling down, we can see more options such as: Sign with name at the end, AI audio-to-text transcription, Create new contacts in GHL, and Notify if the number is disconnected.

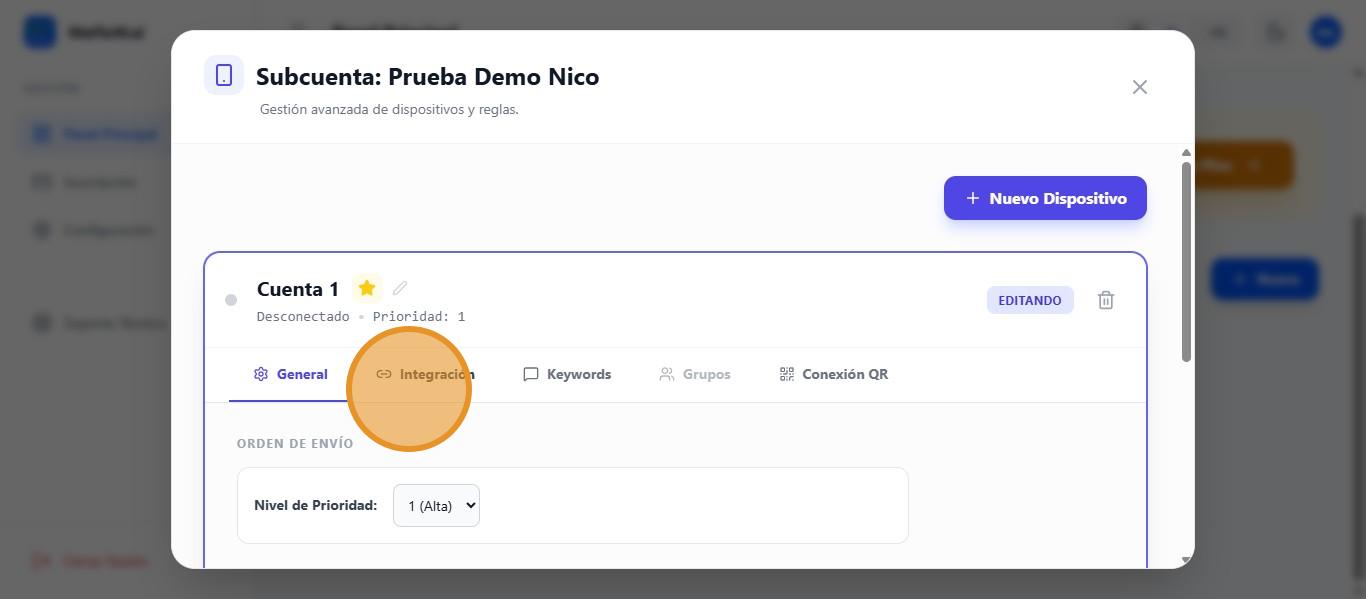
Integrations #
To go to another section, click on “Integration.”
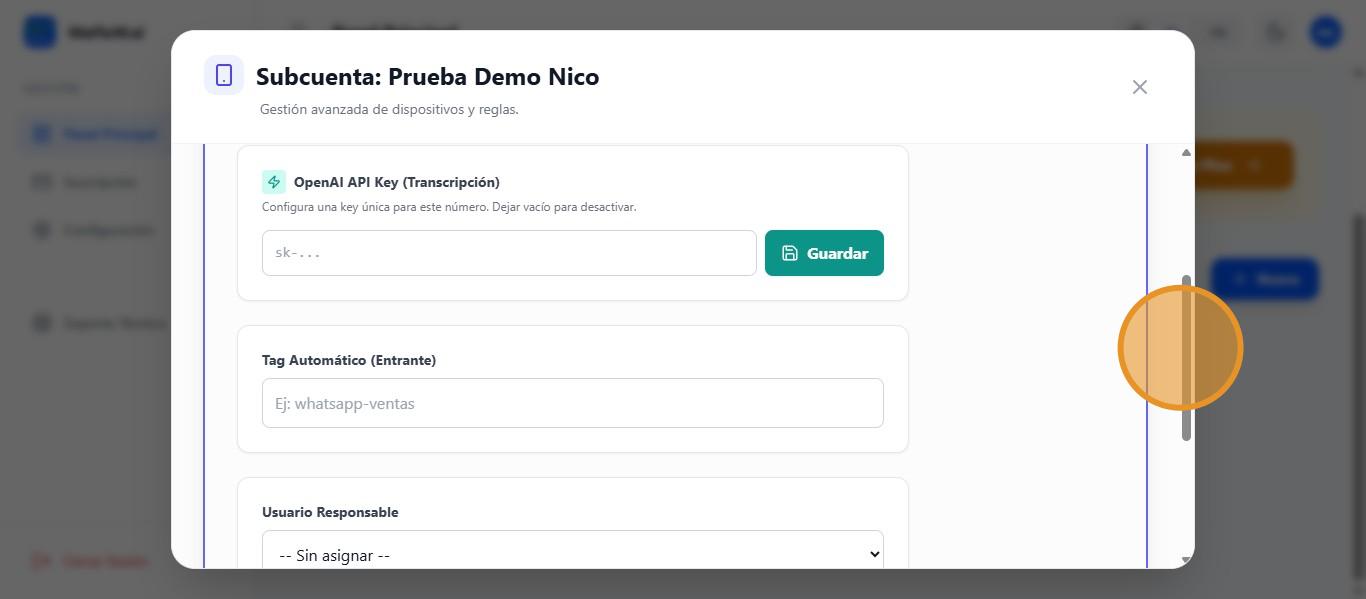
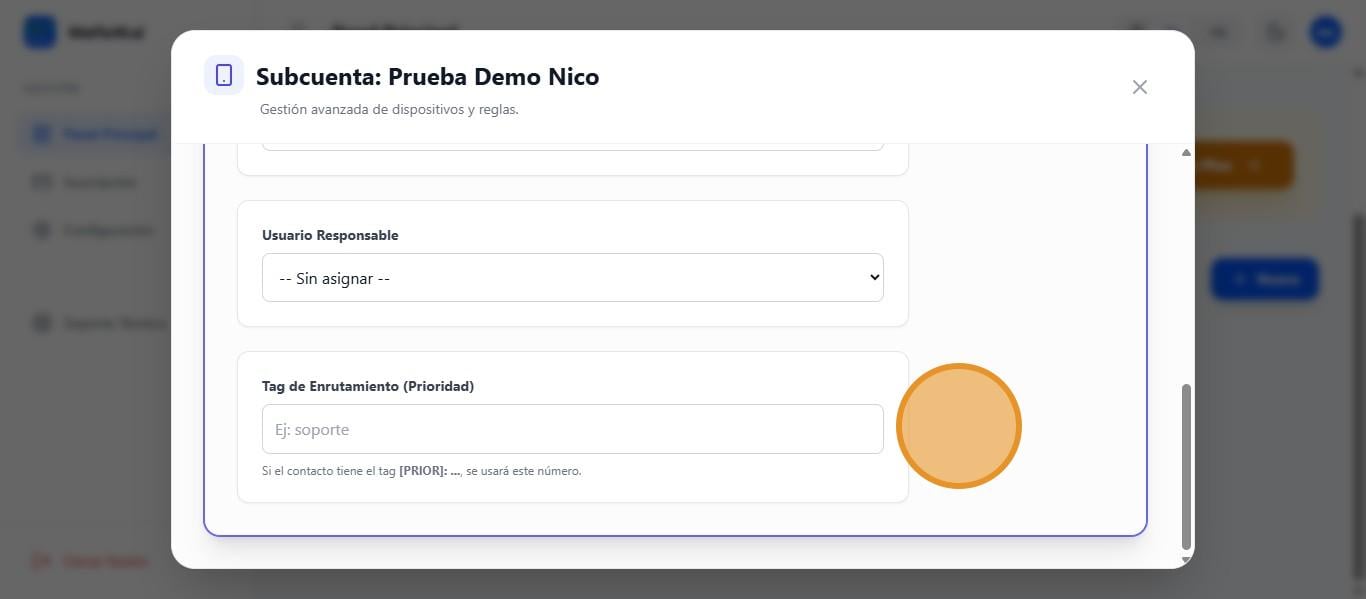
Here we can first add (if we have one) the open ia key for transcriptions. If left blank, this feature will be disabled. We can then add automatic tags to incoming contacts and assign a responsible user.
And to configure routing labels
External Triggers with Tags #
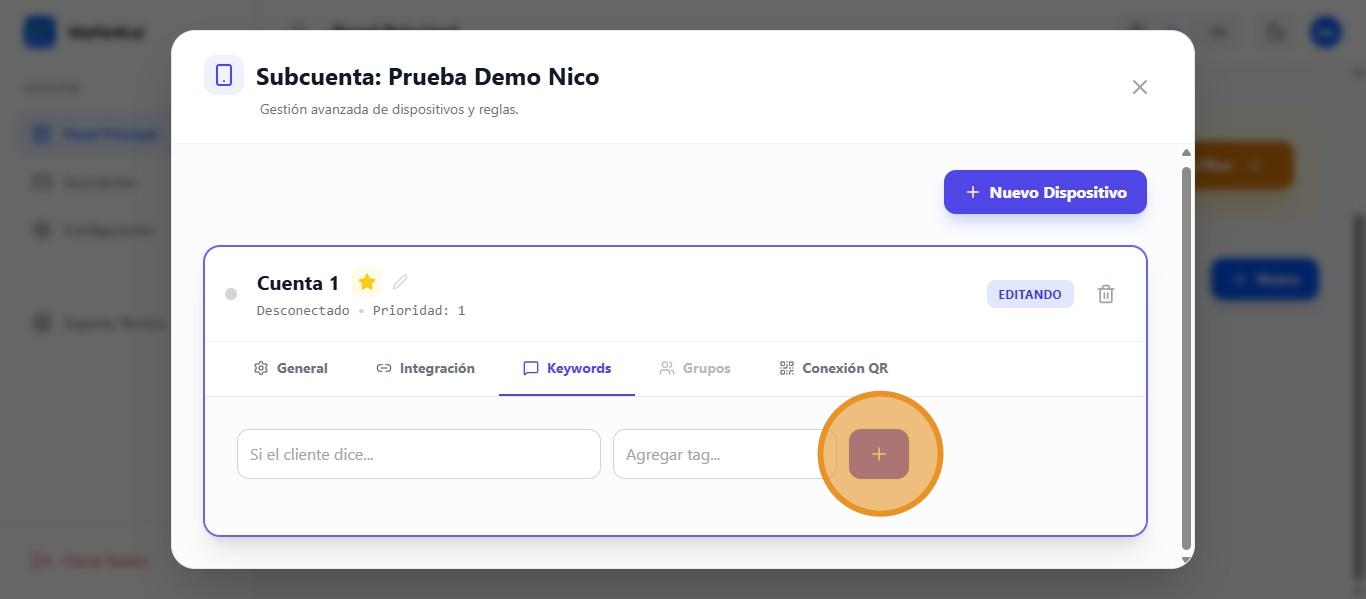
Then the next section. Click on “Keywords.”
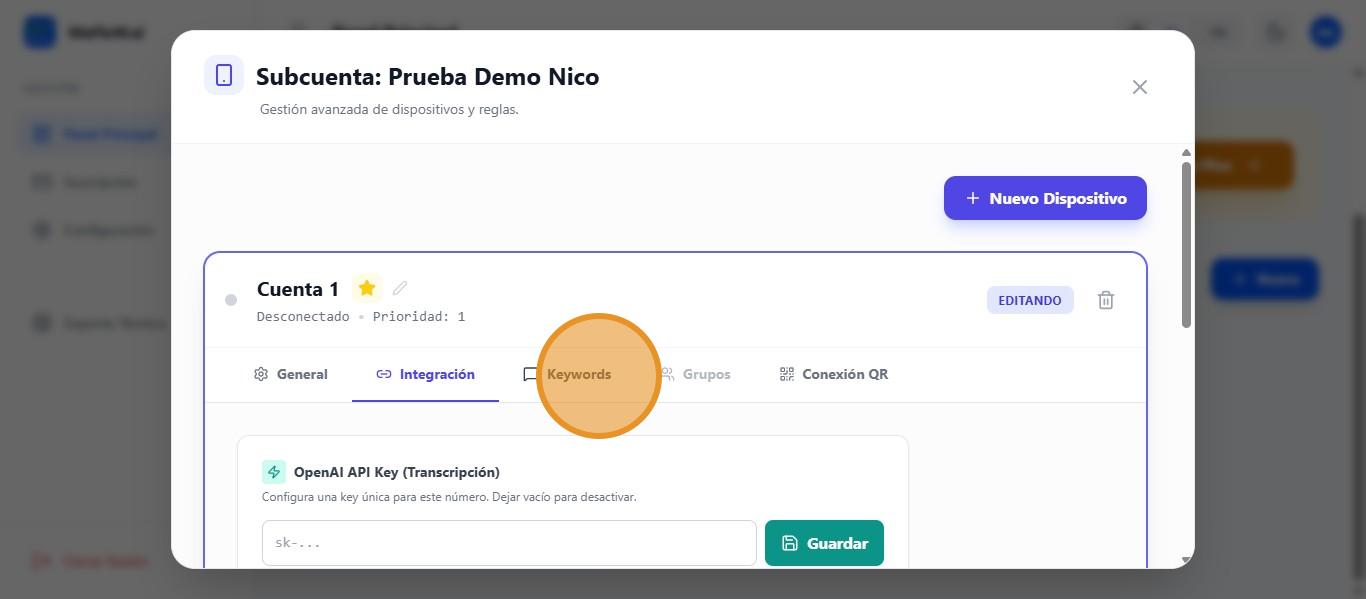
Where we can set up keywords so that if the customer mentions something, for example a specific product, we can tag it that way for better organization.
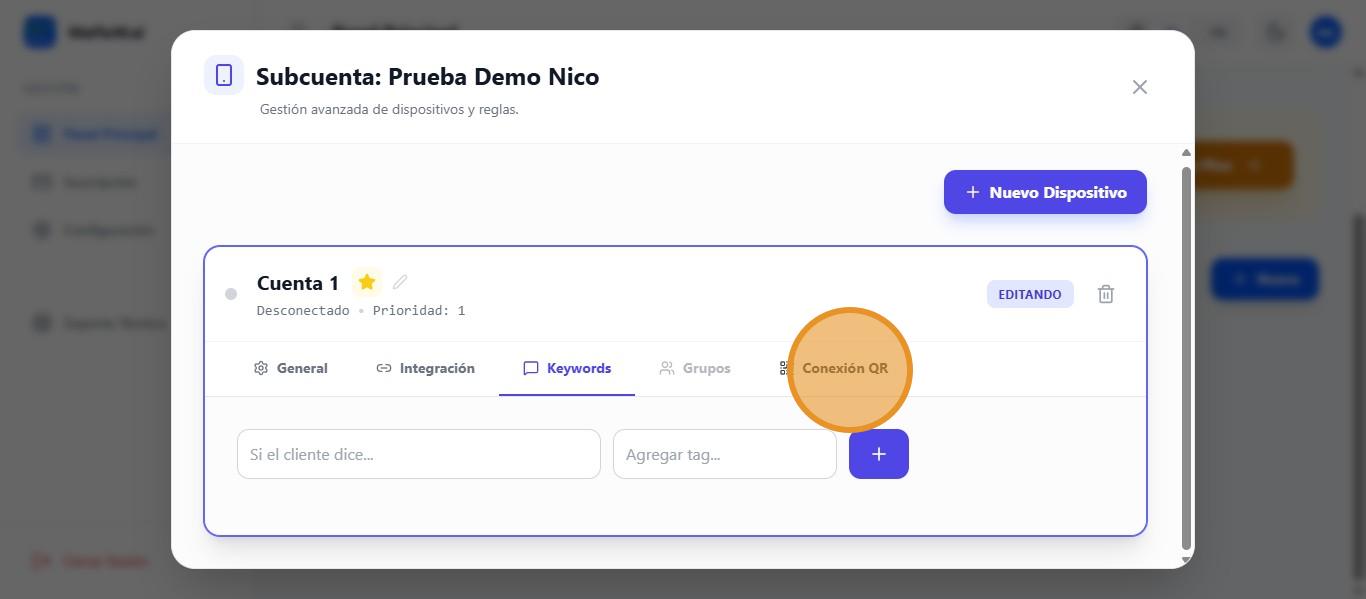
Connect device via QR from the Agency Panel #
Next section. Click on “QR Connection.”
Click on “Generate QR code” to link the WhatsApp of the sub-account.
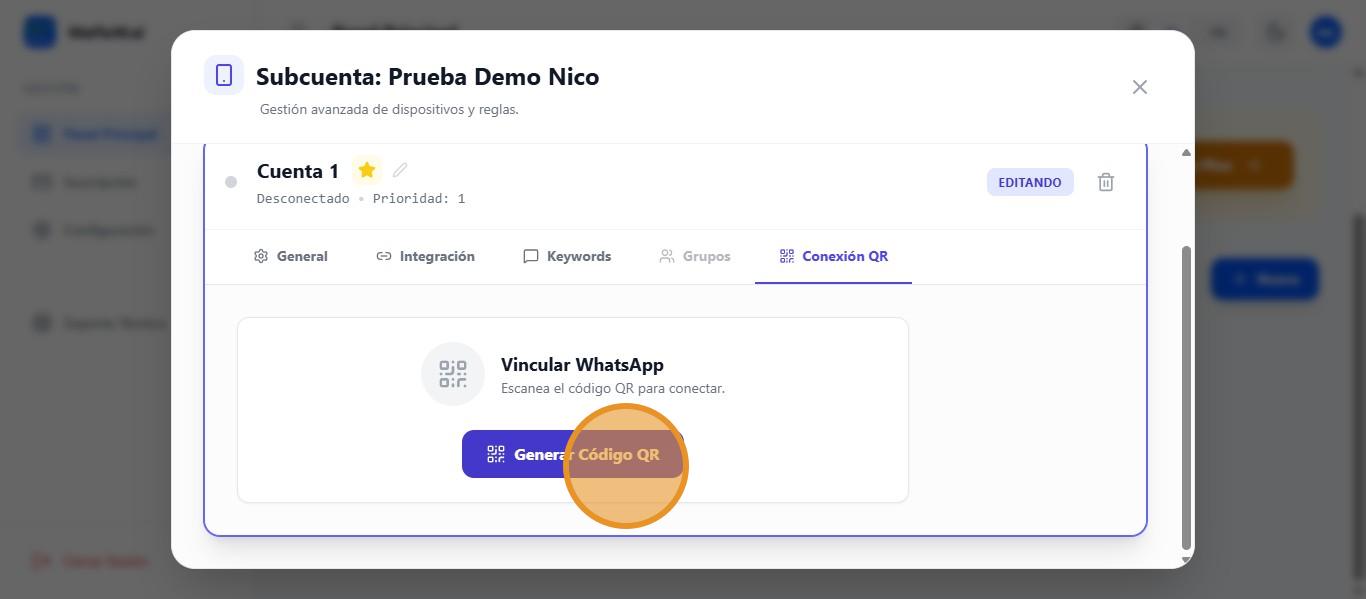
Once the QR code has been scanned, WhatsApp will be assigned to our sub-account.

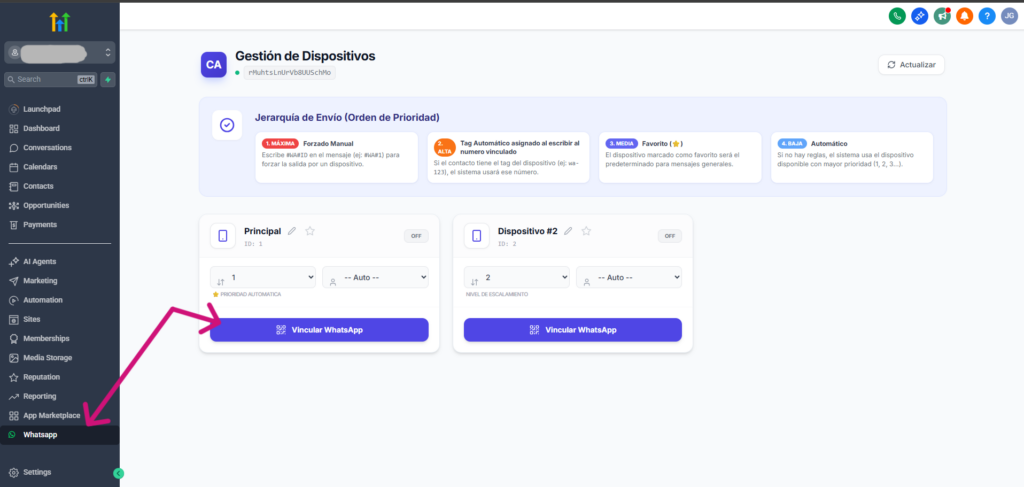
Connect QR device from the Customer Panel (From GHL) #
A new button will automatically appear in the customer’s subaccount, allowing them to connect their phones.
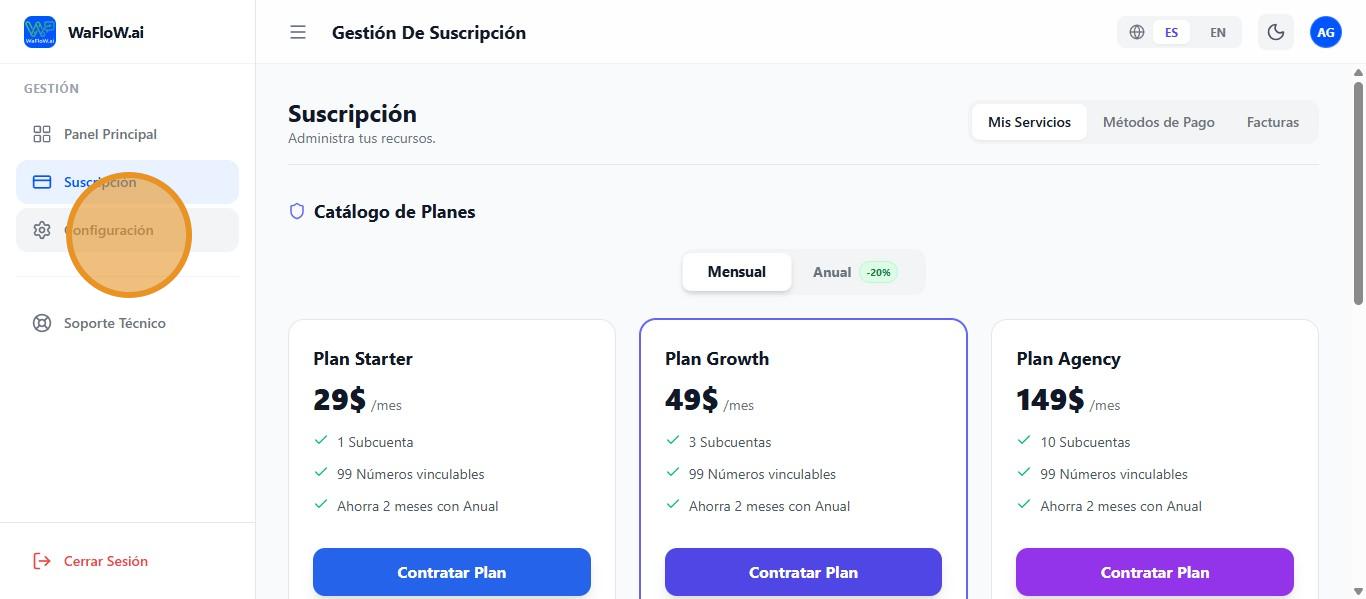
Manage Subscription #
To access our subscription, click on this icon

It is basically the same as what we saw in the initial steps. To view the settings, click on this icon.
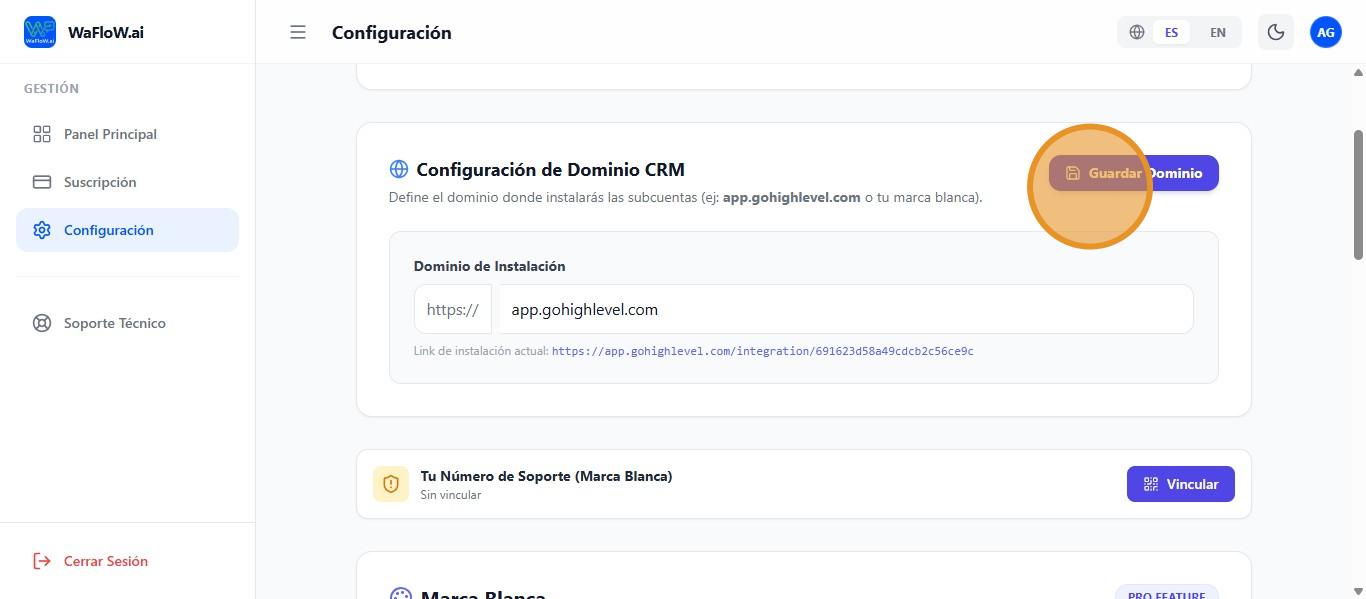
Advanced Settings and White Labeling #
Here I can configure the installation domain for my CRM.
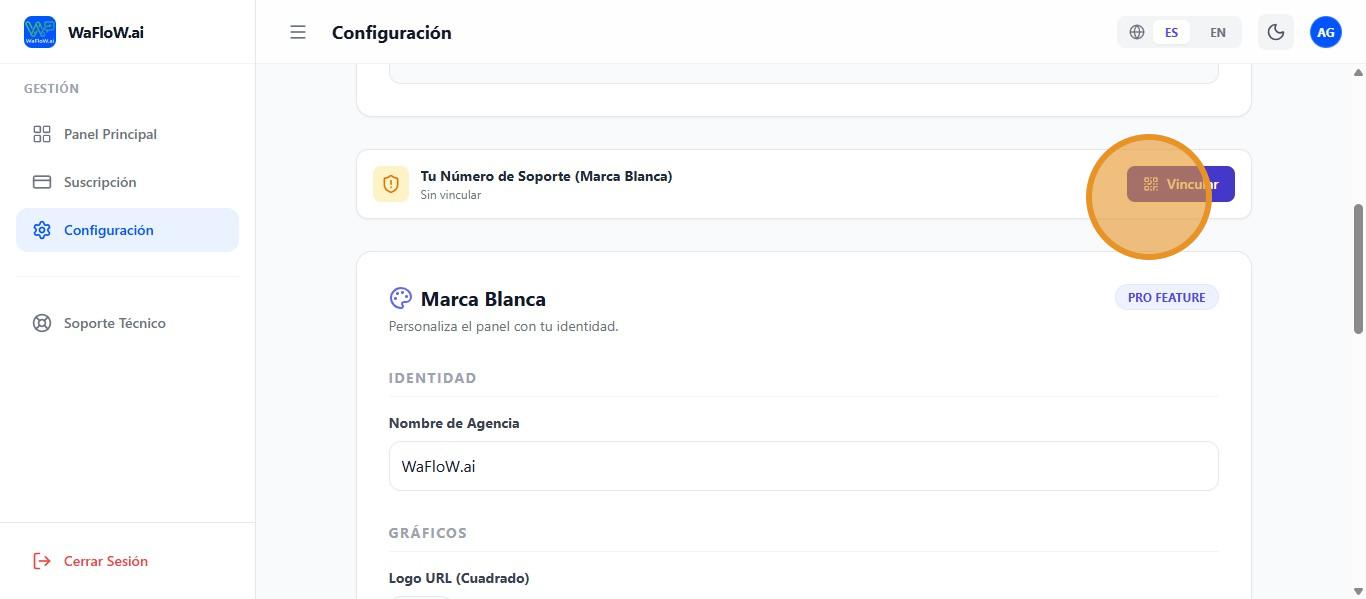
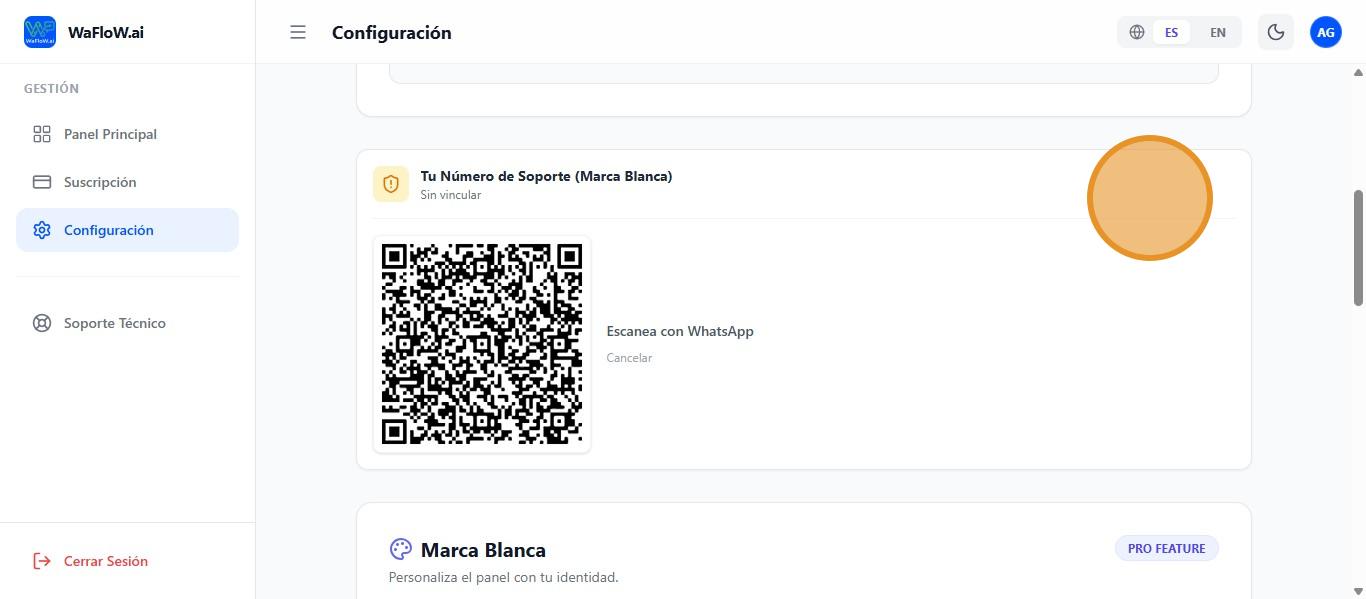
Here I can link the WhatsApp support for our agency/account.
And this QR code will appear for you to scan.
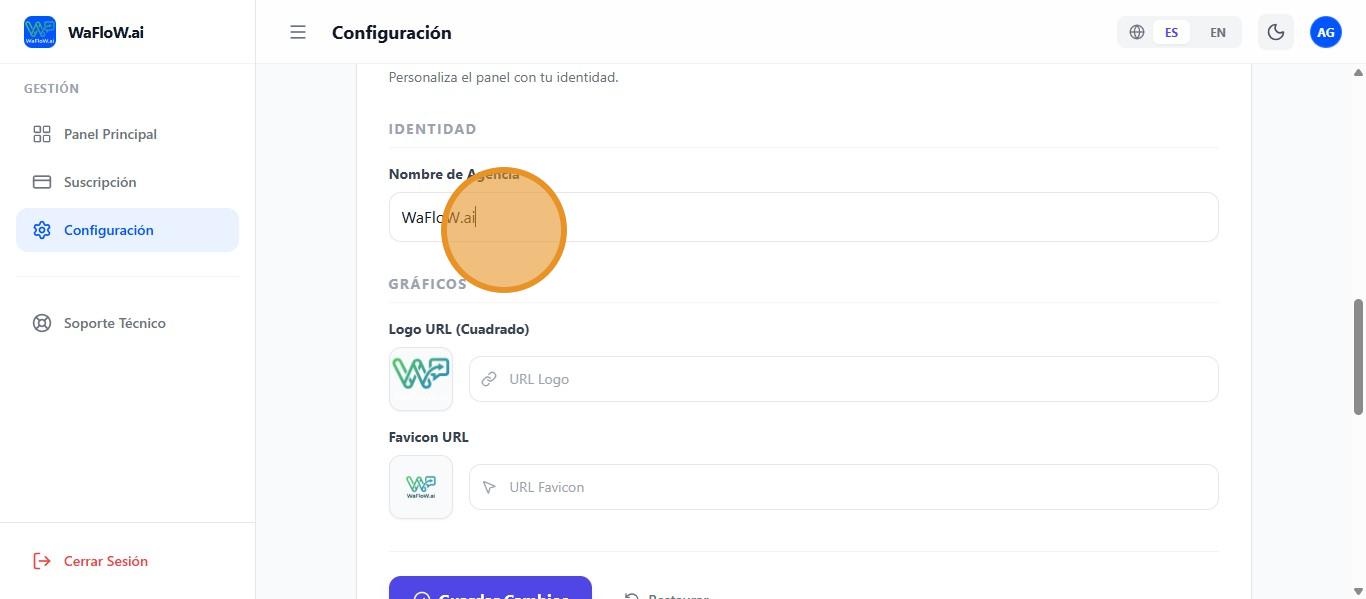
Click here to change the agency name to your own
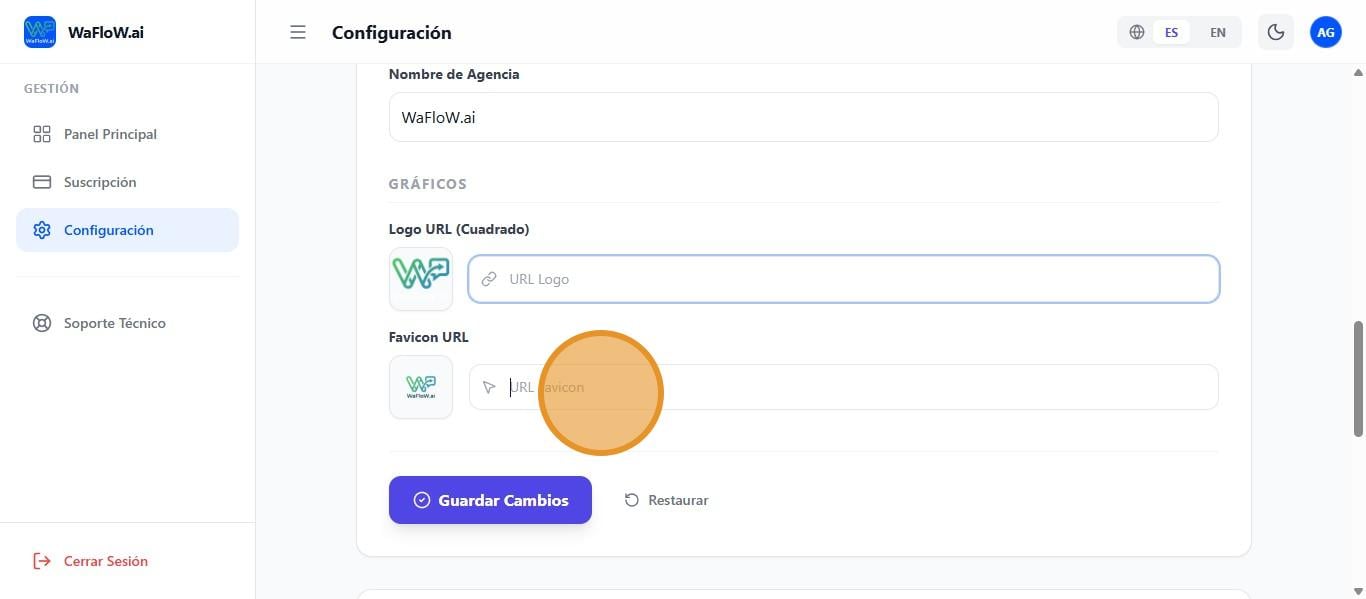
Click here to replace the agency logo with your own.

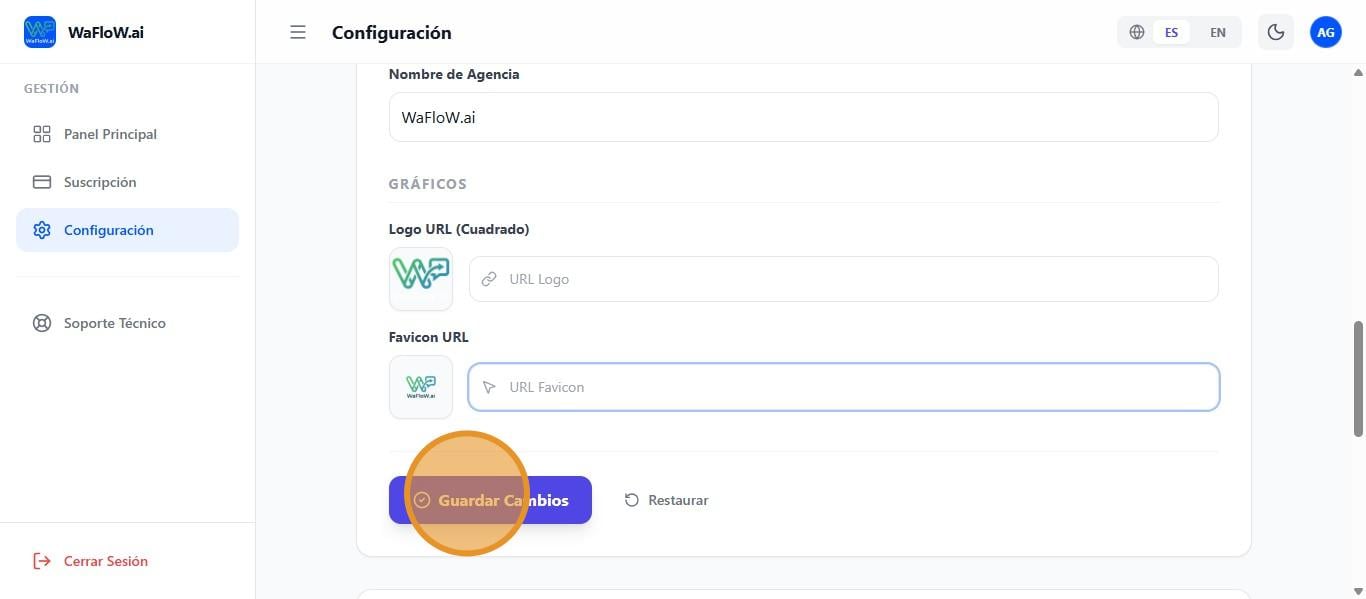
Click here to change the agency’s favicon to your own.
Once everything is configured, we always save the changes.
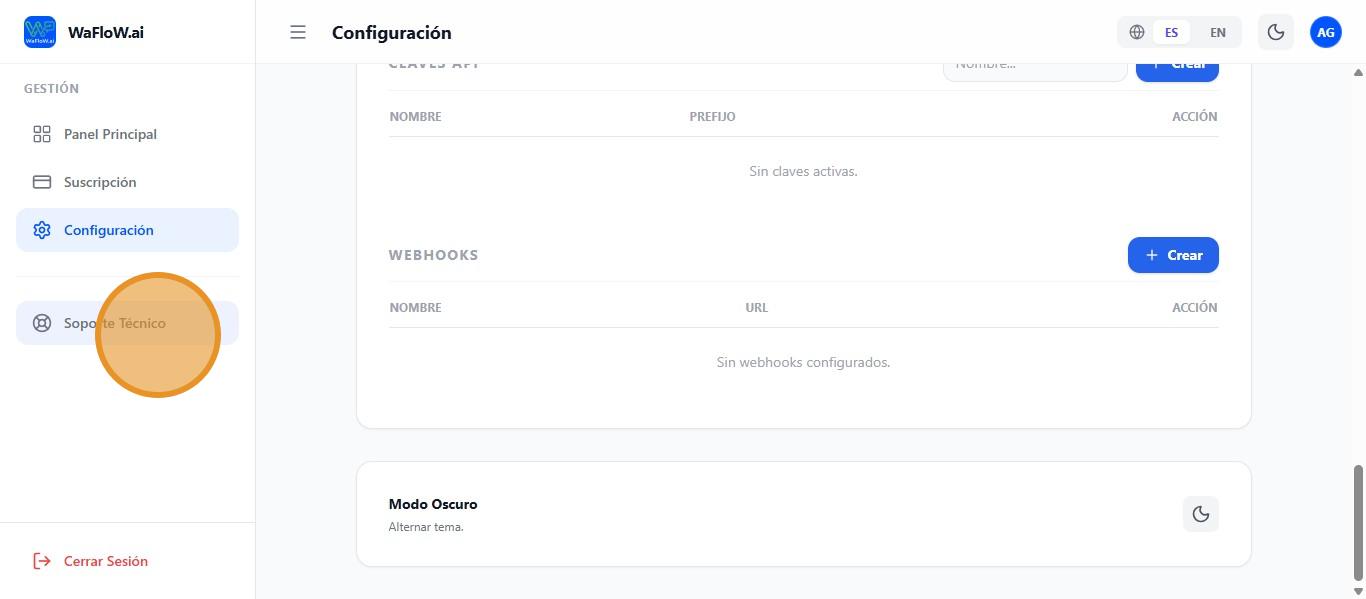
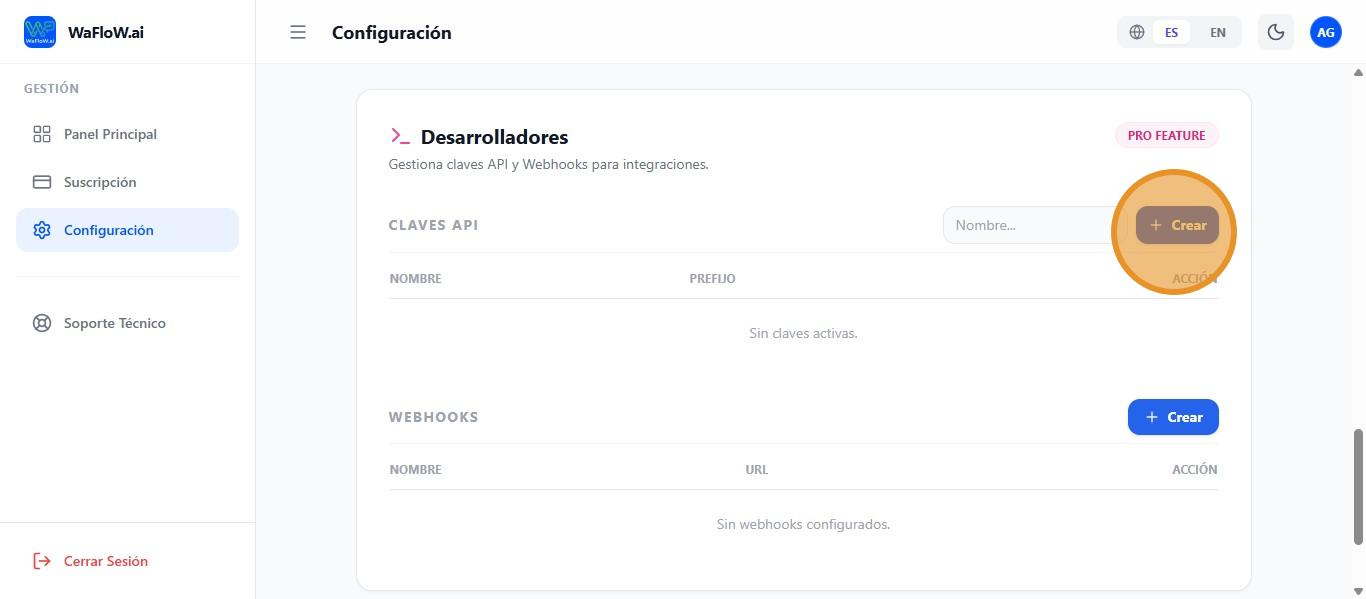
We also have a developers section where we can manage APIs and webhooks for integrations. Click on this icon to create a new API key after giving it a name.
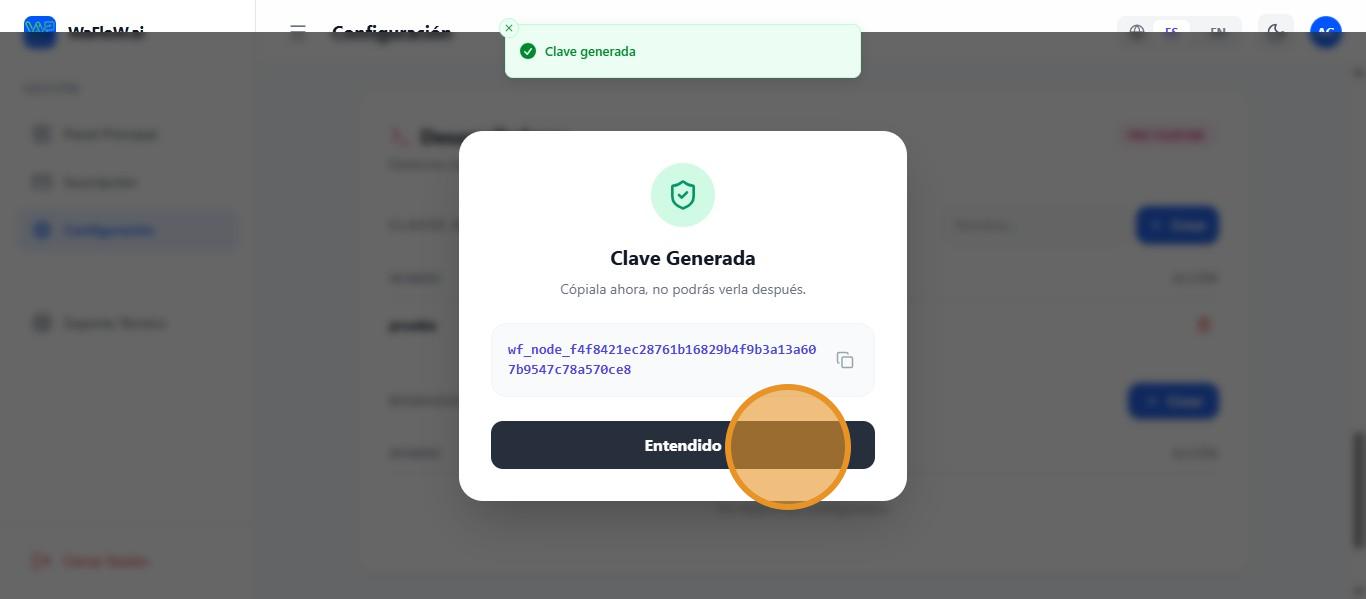
The generated key will appear, and you will only have this one chance to copy it, so copy it first and then click OK.
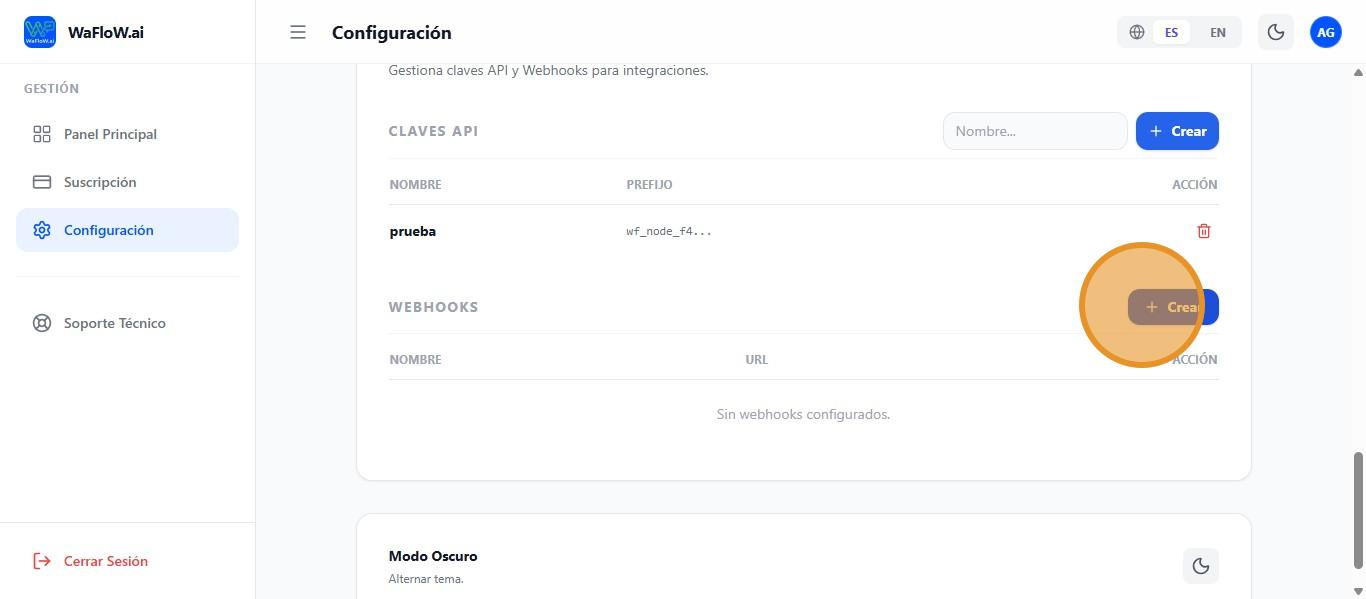
I can also create Webhooks by clicking this icon.
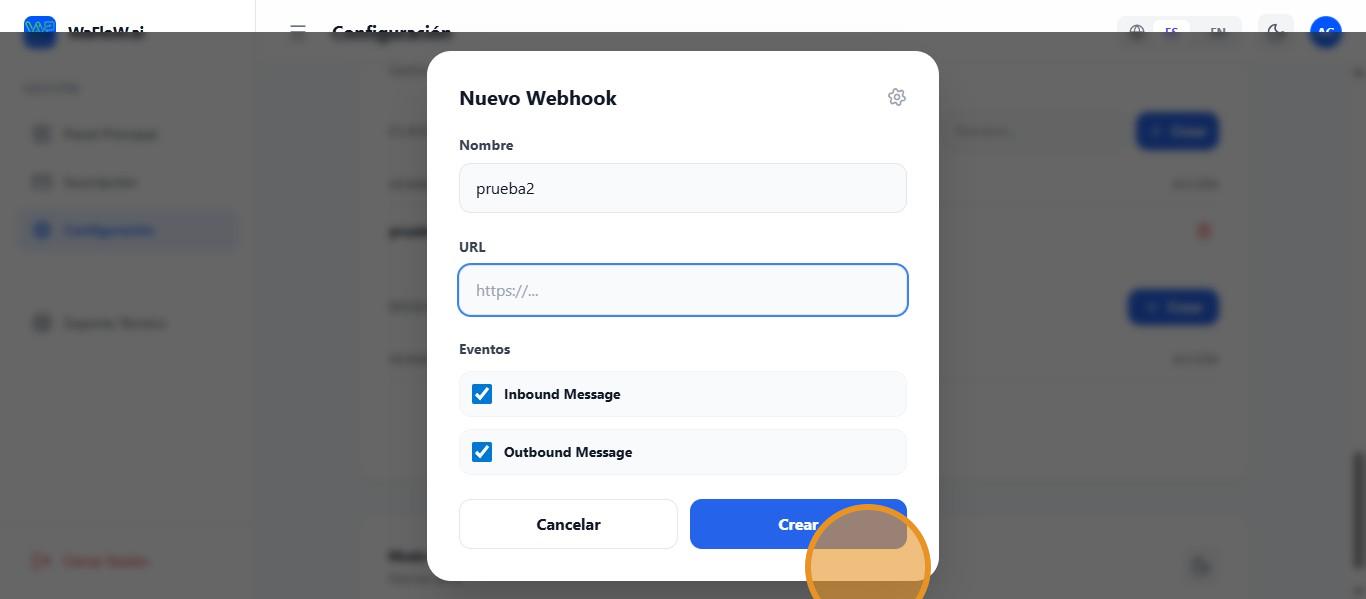
We will need to fill in the name of the webhook and the URL.
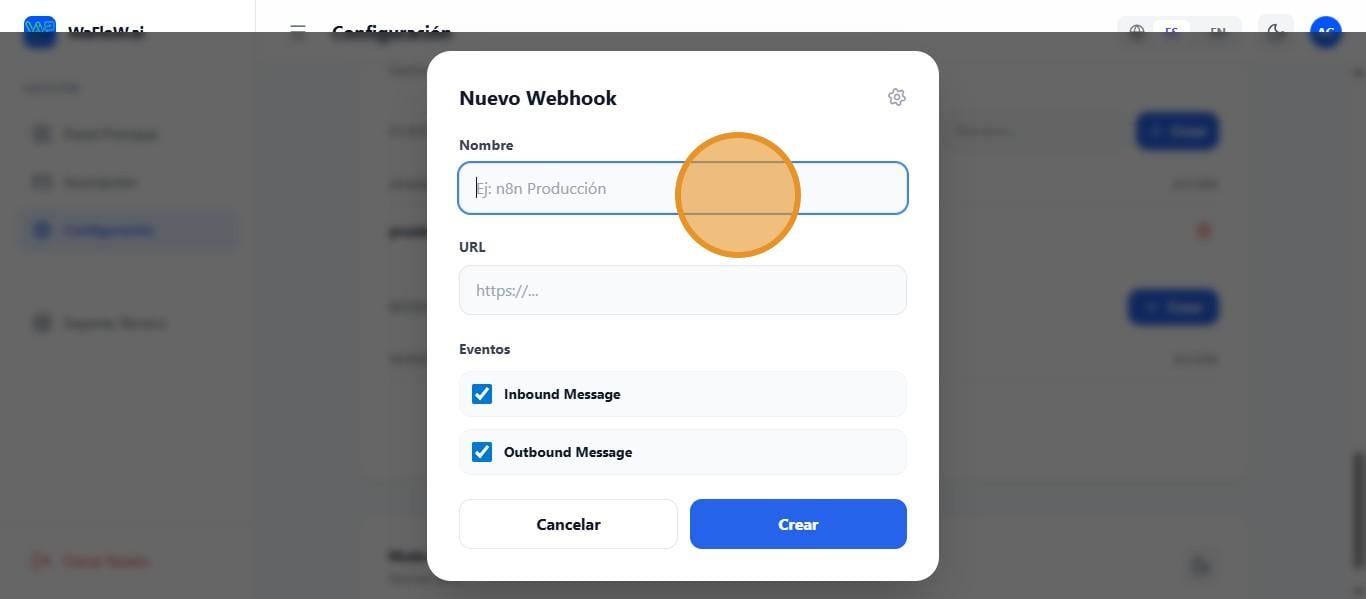
We also have the option to select which events will trigger the webhook, which in this case are outgoing and incoming messages. Once everything is ready, click on “Create.”
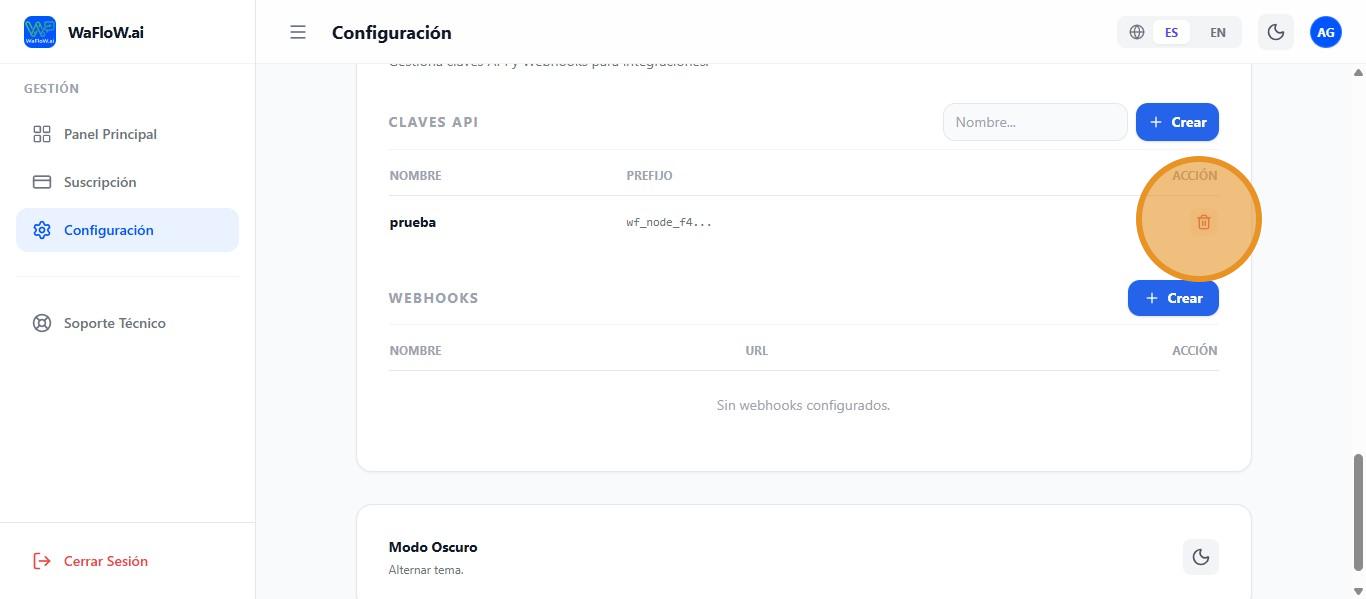
If you want to delete an API or webhook, click on this icon.
Technical Support #
If you encounter any technical errors on the website, you can use the technical support button to contact support.